10 Glossy Straight Hair Looks That Make Hair Shine Like Glass
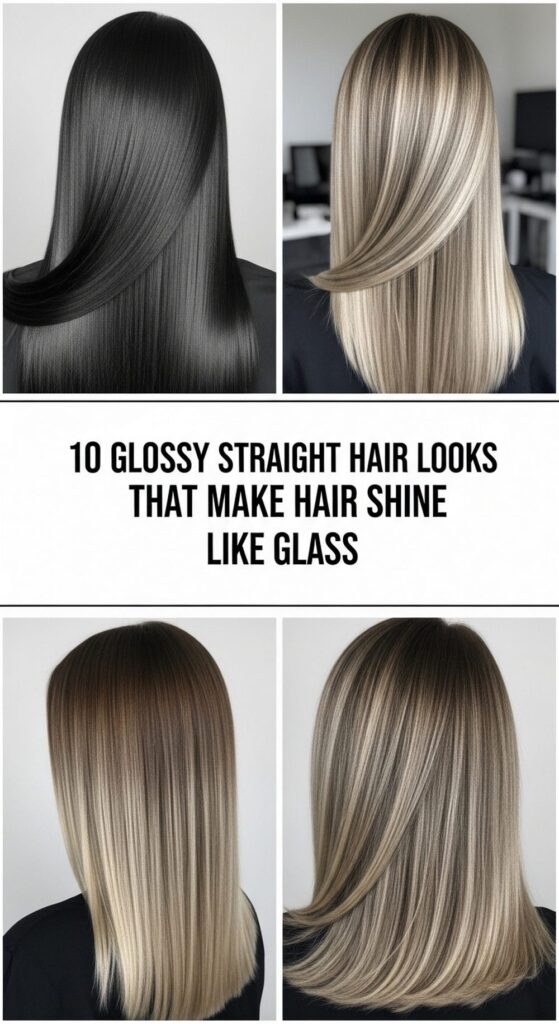
If you want your hair to catch the light and gleam like glass, straight, glossy styles are your best friend. This list gathers 10 sleek looks that boost shine, smooth frizz, and make your hair look polished from every angle. Most of these work best on naturally straight or slightly wavy hair, but you can also smooth curls with a careful blow-dry and flat iron. Oval, heart, and long face shapes suit sharp middle parts, while round and square faces often shine with soft side parts and tucked pieces. Before you start, prep with a nourishing wash, a light conditioner, and a solid heat protectant. You’ll also want a reliable flat iron, a good brush, and a tiny amount of serum or oil. The goal: smooth, reflective strands without heaviness.
Quick List
- Glass Hair Blunt Bob
- Pin-Straight Sleek Lob
- Mirror-Shine Middle Part
- Super Sleek High Ponytail
- Glossy Low Wrap Bun
- Straight Layered U-Cut
- Shine-Boosted Long Straight Layers
- Sleek Tucked-Behind-Ears Look
- Poker-Straight Side Part
- Glossy Half-Up Straight Style
1. Glass Hair Blunt Bob

The glass hair blunt bob is all about sharp edges and intense shine. The cut is one length, sitting around the jawline or just below, which helps light bounce evenly off your hair. It gives a chic, modern feel that works for both workdays and nights out. The clean line of the bob highlights your jaw and cheekbones, so it looks especially striking in photos. To pull this off, every strand needs to lie flat and smooth, with no frizz around the crown. A tiny bit of serum at the ends keeps things polished. Pro tip: keep the ends trimmed regularly so the cut stays crisp and reflective.
How To Style
- Blow-dry hair downward with a nozzle, brushing the hair straight.
- Apply heat protectant and flat iron in small sections from root to tip.
- Slightly curve the iron inward at the very ends for a soft tuck.
- Finish with a pea-sized amount of serum on mid-lengths and ends.
Best For
- Face shapes: oval, heart, and square
- Hair: fine to medium straight hair or smoothed-out wavy hair
Tools & Products
- Smoothing shampoo and conditioner
- Heat protectant spray
- Flat iron
- Paddle brush
- Lightweight shine serum or oil
2. Pin-Straight Sleek Lob
A sleek lob (long bob) hits around the collarbone and gives glossy hair a bit more movement than a short bob. This style keeps the glassy, straight look but adds a softer outline that grazes your shoulders. It’s great if you like wearing your hair down every day but still want that high-shine, polished finish. You can wear it with a middle part for a modern feel or a soft side part to soften strong features. The length makes it easy to tie back, but it’s long enough to swish when you walk. Pro tip: use a lightweight leave-in spray on damp hair so it dries smoother before you even reach for the flat iron.
How To Style
- Towel-dry gently, then apply leave-in and heat protectant.
- Blow-dry in sections, directing air down the shaft.
- Flat iron in vertical sections, keeping the iron moving.
- Mist a light shine spray from mid-lengths to ends.
Best For
- Face shapes: oval, round, and heart
- Hair: medium to thick straight or slightly wavy hair
Tools & Products
- Leave-in conditioner spray
- Heat protectant spray
- Round brush or paddle brush
- Flat iron
- Light shine spray
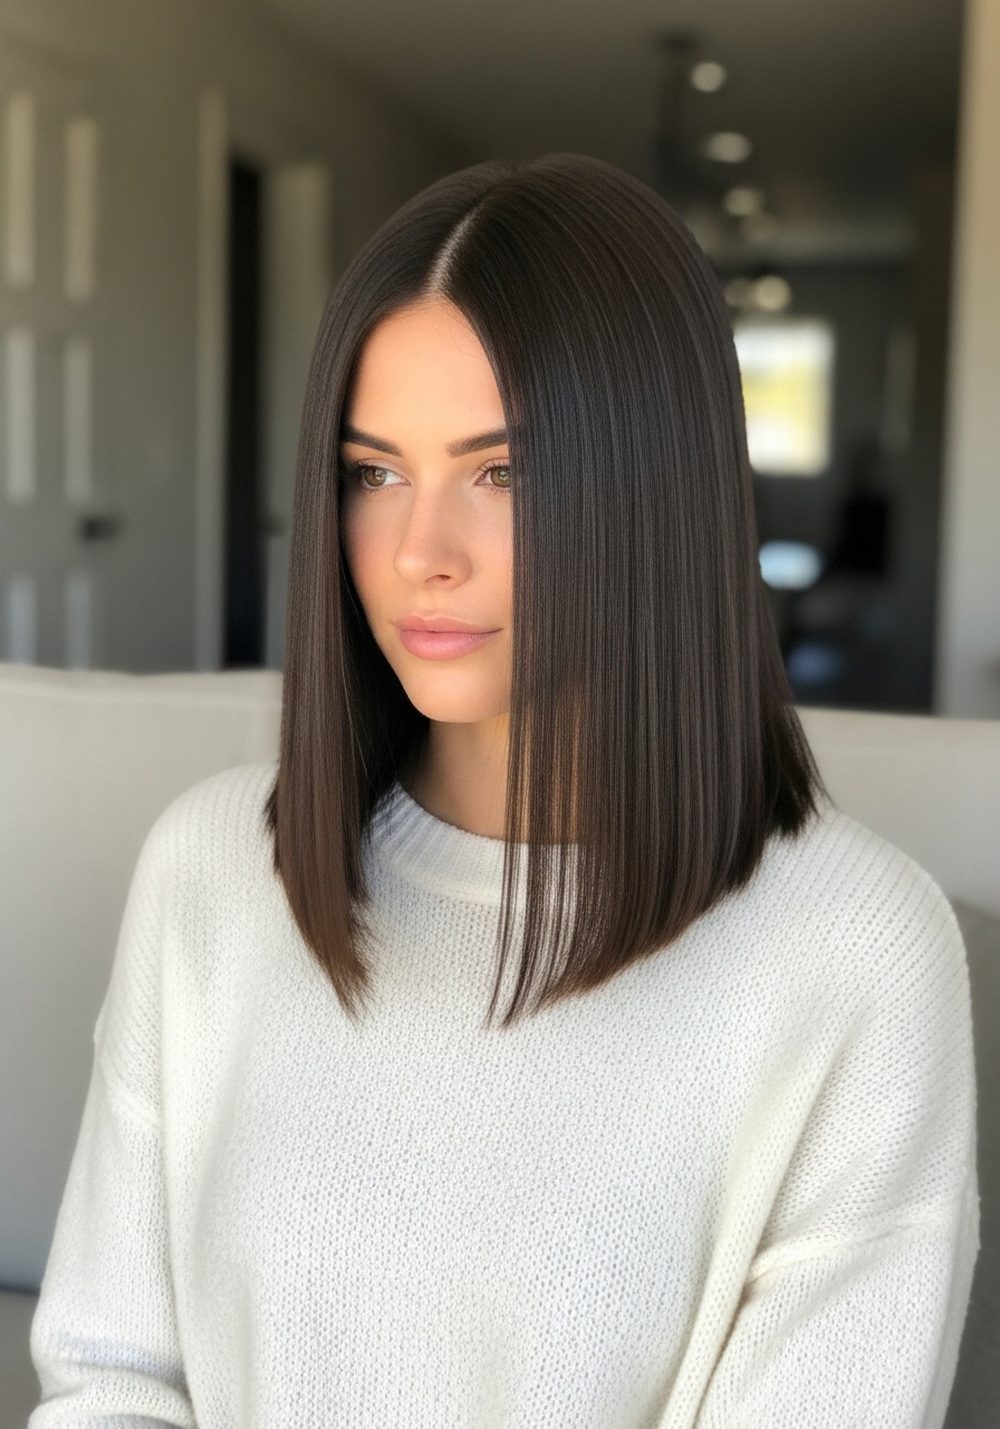
3. Mirror-Shine Middle Part
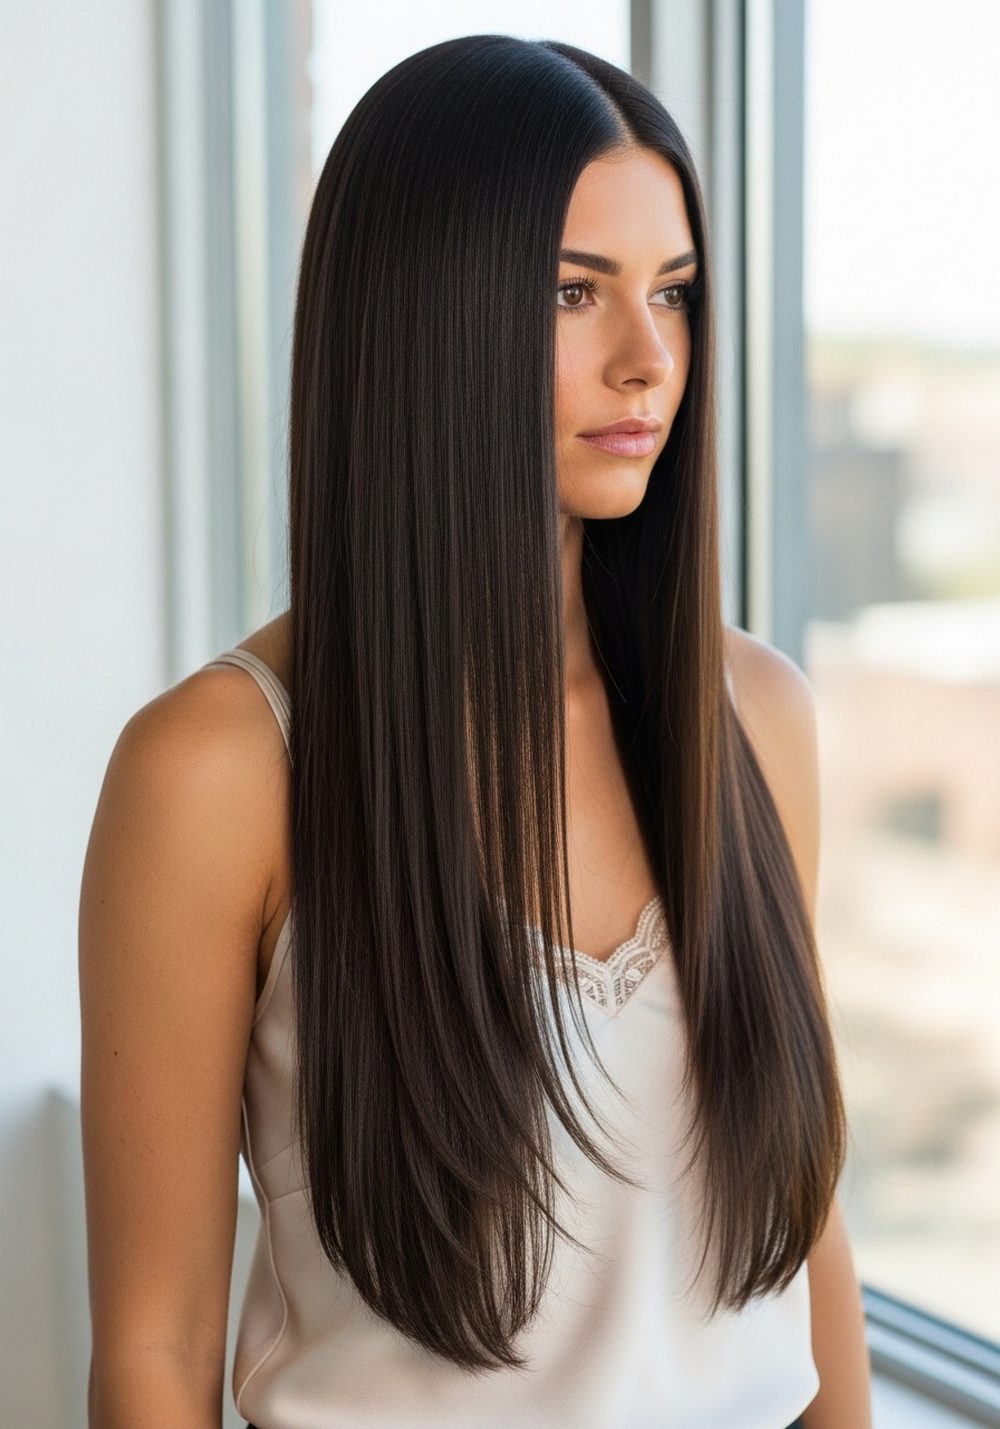
The mirror-shine middle part is all about symmetry and clean lines. Hair falls straight down on both sides of your face, creating a balanced, reflective sheet of shine. It works especially well when your hair is one length or has very minimal layers. This look is perfect for days when you want maximum impact with minimal detail—think sleek, simple, and expensive-looking. Because the scalp line is visible, keeping the part neat and flyaway-free is key. Pro tip: use the end of a tail comb to create a precise middle part, then smooth a tiny bit of styling cream over the top layer.
How To Style
- Draw a sharp middle part on damp hair with a tail comb.
- Blow-dry both sides downward, following the shape of your head.
- Flat iron from root to tip, focusing on making both sides even.
- Smooth a small amount of cream over the part and crown.
Best For
- Face shapes: oval and long
- Hair: fine to medium, straight hair or relaxed waves
Tools & Products
- Tail comb
- Heat protectant
- Blow-dryer with nozzle
- Flat iron
- Lightweight smoothing cream
4. Super Sleek High Ponytail
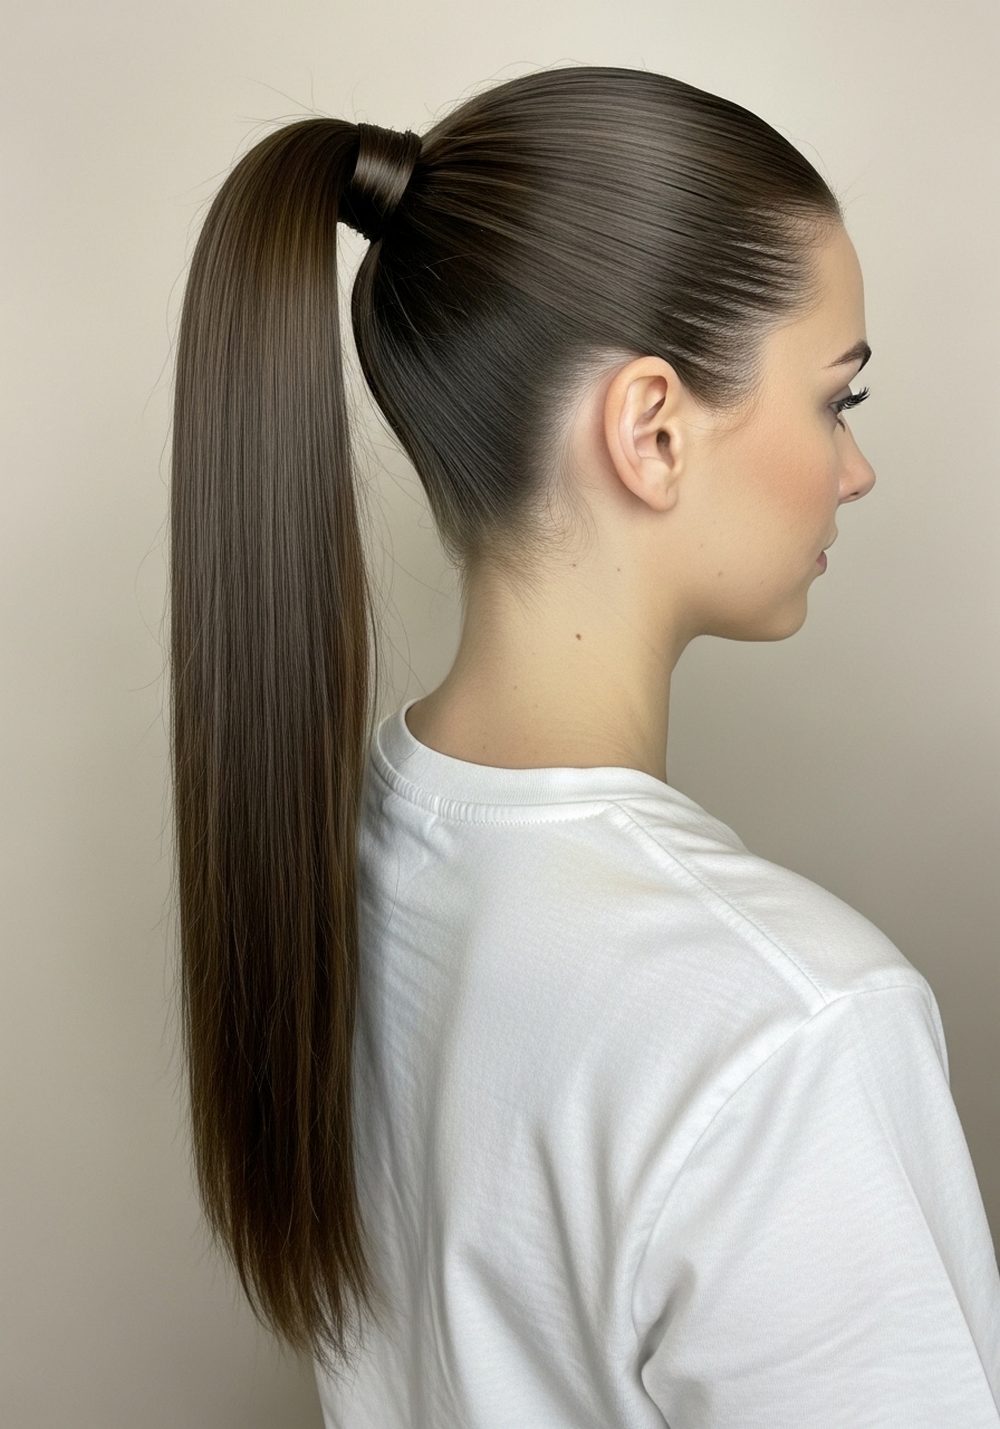
A super sleek high ponytail turns glossy straight hair into a statement. When the base is smooth and tight, the lengths of the pony can catch the light like a ribbon of glass. This style works for busy days, evenings out, and any moment when you want your hair off your face but still looking polished. It can also disguise a slightly oily scalp if you smooth everything back. Keep the ponytail itself pin-straight so it swings cleanly behind you. Pro tip: wrap a thin section of hair around the hair tie and secure it underneath with a pin for a neat, finished look.
How To Style
- Brush hair upward and back, smoothing with a comb as you gather it.
- Secure a high ponytail at the crown with a strong elastic.
- Flat iron the ponytail in small sections until fully straight.
- Smooth a bit of gel or cream over the hairline and crown.
Best For
- Face shapes: round, oval, and heart
- Hair: medium to thick, straight or blow-dried smooth
Tools & Products
- Fine-tooth comb
- Strong hair elastics
- Flat iron
- Light hold gel or styling cream
- Shine spray
5. Glossy Low Wrap Bun

The glossy low wrap bun is a sleek updo with a smooth, reflective base. Hair is parted, pulled straight back, and twisted into a low bun at the nape, with every strand slicked into place. This style looks refined but not fussy, perfect for work, dinners, or events where you want a neat finish. The shine concentrates at the roots and along the sides, which makes your facial features stand out. It’s also great for slightly older blowouts that you still want to look polished. Pro tip: smooth hairline fuzz with a tiny amount of gel on a clean toothbrush, brushing everything into the bun.
How To Style
- Create your chosen part (middle or side) on damp or dry hair.
- Comb hair back into a low ponytail and secure.
- Twist the ponytail into a bun and pin it flat.
- Smooth sides and top with a small amount of gel or cream.
Best For
- Face shapes: heart, oval, and square
- Hair: medium to thick, straight or smoothed hair
Tools & Products
- Fine-tooth comb
- Hair elastics and bobby pins
- Heat protectant (if straightening first)
- Styling gel or smoothing cream
- Shine spray or serum
6. Straight Layered U-Cut
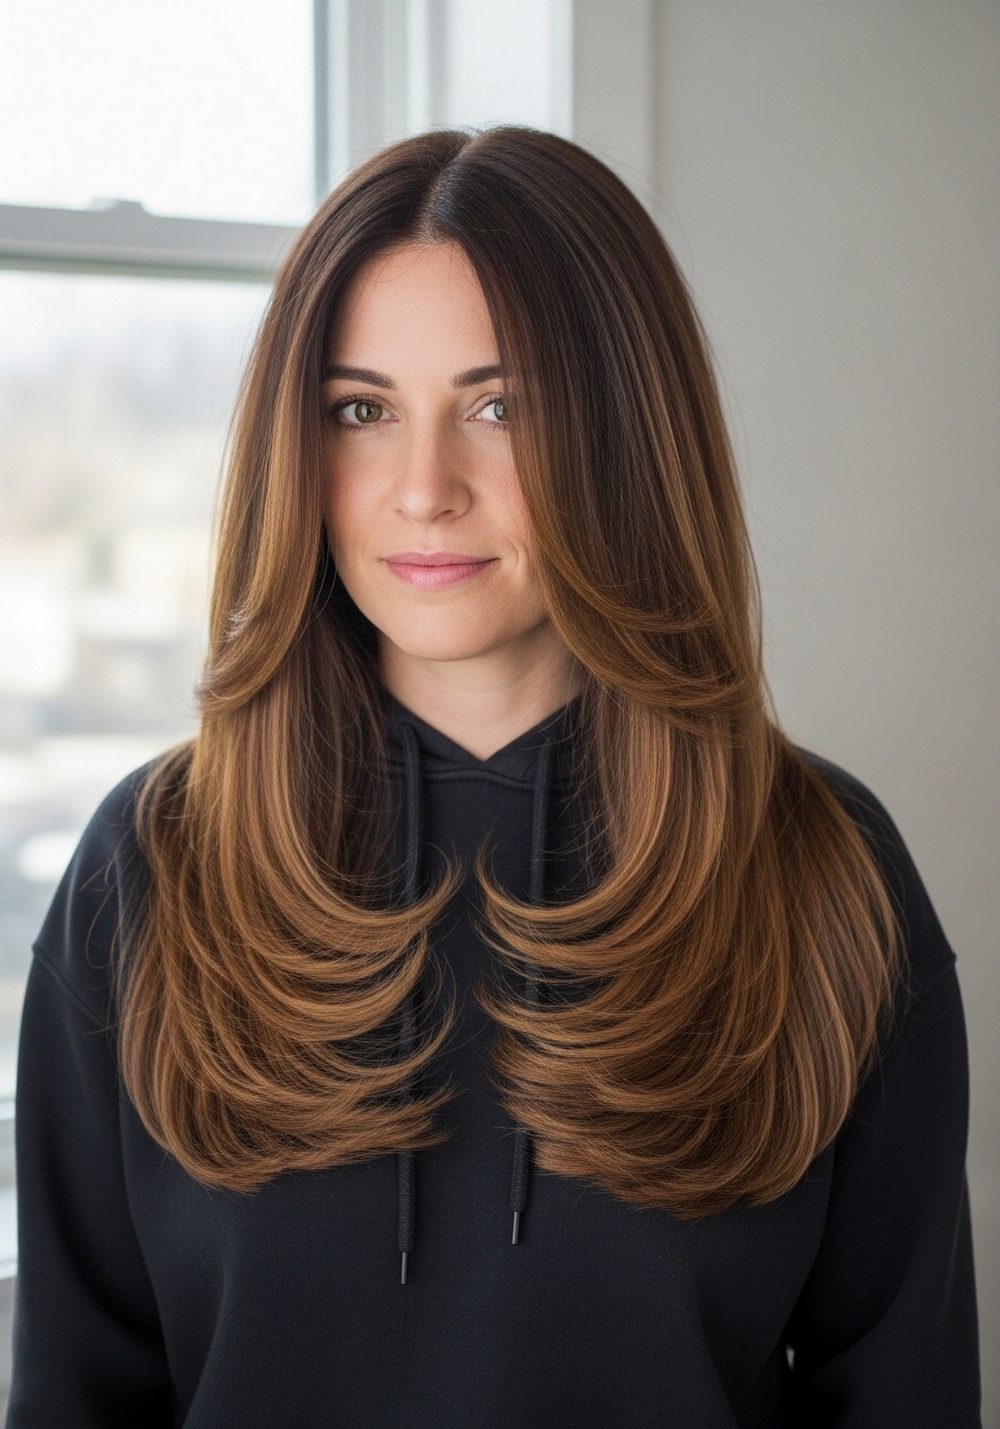
A straight layered U-cut has a subtle curve at the bottom, with the back slightly longer than the sides. When worn straight and glossy, those soft layers let the light glide down the hair and pool at the ends. It’s a great choice if you like long hair but want a shape that moves and still looks sleek. The U-shape frames the back beautifully and keeps the ends looking healthy. This style works for everyday wear but also looks special when you dress up. Pro tip: ask for long layers, not choppy ones, so your hair can still reflect light like one smooth curtain.
How To Style
- Apply heat protectant to damp hair and detangle.
- Blow-dry in sections, pulling hair straight down.
- Flat iron from mid-lengths to ends, following the U-shape.
- Add a drop of oil to the ends and comb through.
Best For
- Face shapes: oval, round, and long
- Hair: medium to thick, straight or slightly wavy
Tools & Products
- Wide-tooth comb
- Heat protectant
- Blow-dryer and round brush
- Flat iron
- Lightweight hair oil
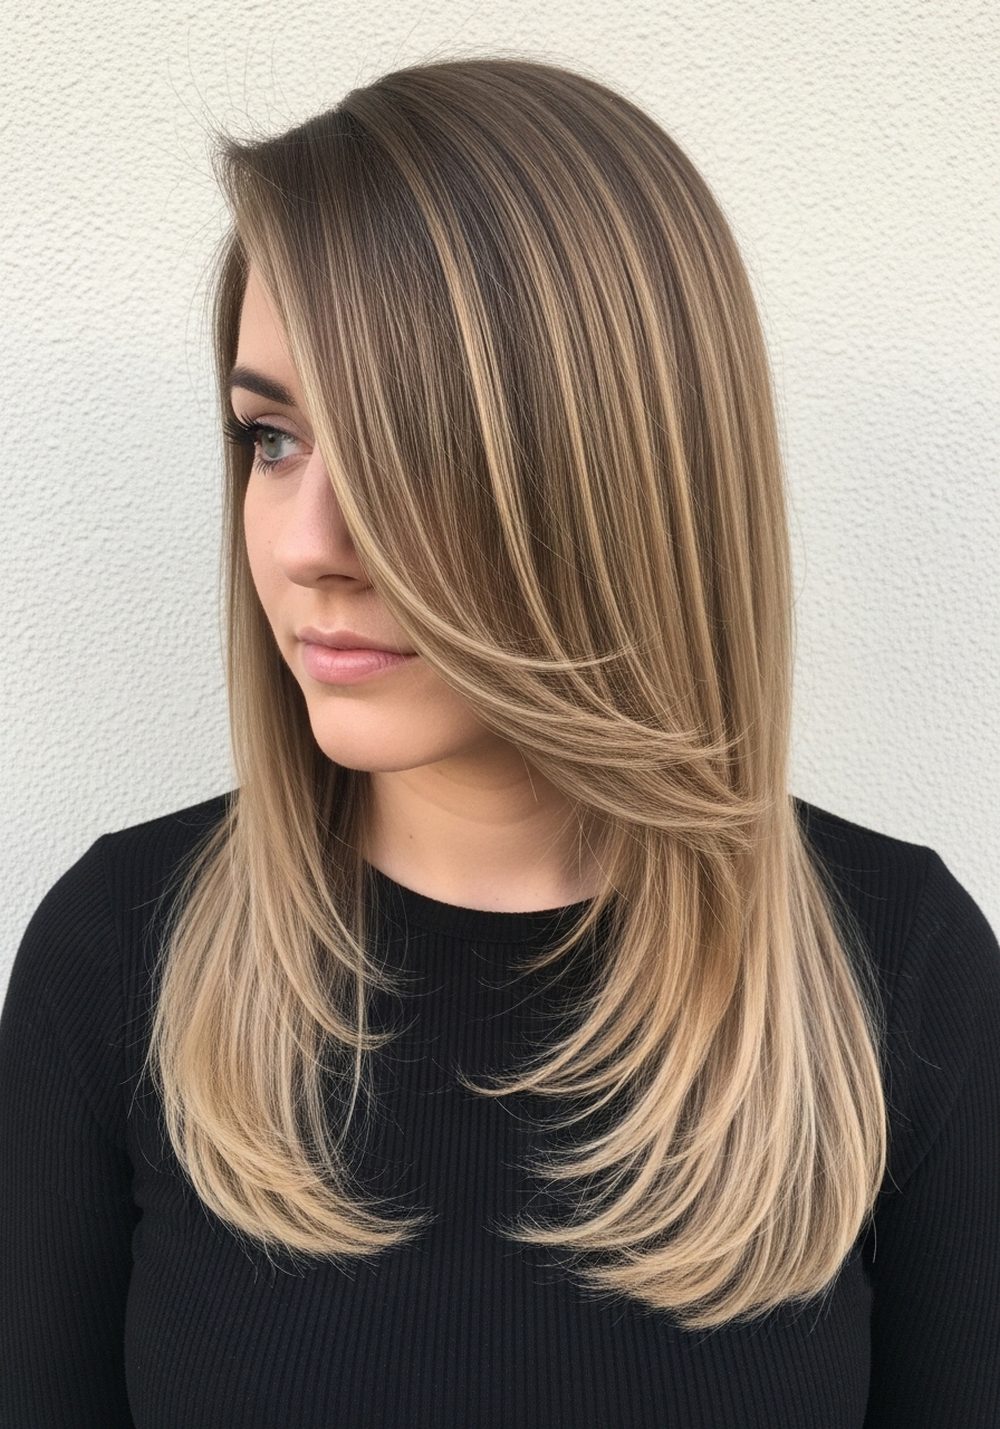
7. Shine-Boosted Long Straight Layers
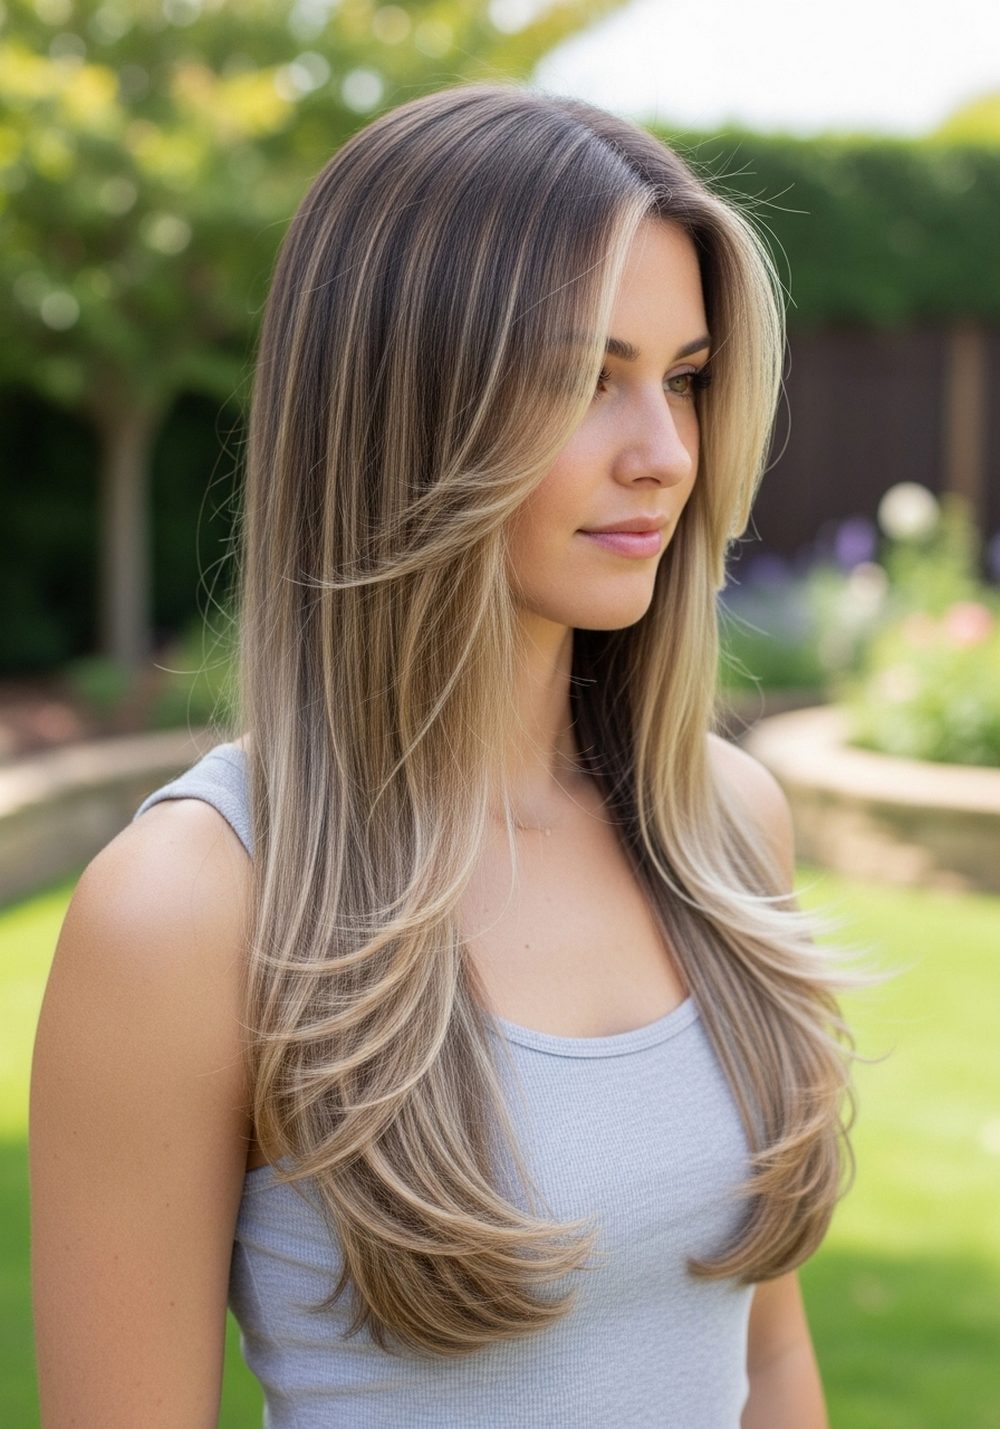
Shine-boosted long straight layers are ideal if you love length but want your hair to look glossy, not heavy. Long, subtle layers help your hair swing and move, catching light at different points. When straightened, the lengths form a smooth sheet, with flicks of brightness near the ends. This look works well for casual days, office outfits, and nights out, because it always looks “done” with minimal styling. Just keep frizz under control and ends neat. Pro tip: use a clarifying wash once in a while to remove product build-up that can dull your shine.
How To Style
- Start with clean, fully dry hair and apply heat protectant.
- Flat iron in thin sections, bending very slightly at the ends.
- Comb through to blend the layers.
- Finish with a light mist of shine spray from a distance.
Best For
- Face shapes: oval, heart, and long
- Hair: medium to thick, long straight or smoothed hair
Tools & Products
- Clarifying shampoo (used occasionally)
- Heat protectant
- Flat iron
- Paddle brush
- Light shine spray
8. Sleek Tucked-Behind-Ears Look

The sleek tucked-behind-ears look is simple but very polished. Hair is worn straight and glossy, with the front sections smoothed back and tucked neatly behind your ears. This opens up your face and lets your cheekbones and eyes stand out, while the lengths still fall in a glossy sheet behind your shoulders. It’s a quick style for busy days, work calls, or dinners when you want your hair out of your way but still looking intentional. Pro tip: use a tiny amount of light gel or cream around the temples so the tuck stays put without looking stiff.
How To Style
- Straighten hair with a flat iron after applying heat protectant.
- Part your hair (middle or soft side).
- Smooth the front sections and tuck them behind your ears.
- Press gently with your hands to set the shape and add a touch of serum.
Best For
- Face shapes: round, heart, and oval
- Hair: fine to medium straight hair
Tools & Products
- Heat protectant
- Flat iron
- Fine-tooth comb
- Lightweight styling cream or gel
- Shine serum
9. Poker-Straight Side Part
The poker-straight side part look is sharp, glossy, and a bit dramatic. Hair is parted deep on one side, then straightened until it falls in a smooth, uncompromising line. The heavier side of the part adds volume and frames your face, while the other side stays clean and tucked slightly back. This style is perfect for evening events, photos, or days when you want your hair to be the main feature. The key is zero frizz and a strict, straight finish. Pro tip: run a fine comb directly behind the flat iron as you straighten to keep each section perfectly smooth.
How To Style
- Draw a deep side part with a comb on dry hair.
- Apply a bit more heat protectant to the top layer.
- Flat iron in narrow sections from roots to ends.
- Tuck the lighter side slightly behind your ear and smooth the top with serum.
Best For
- Face shapes: round, square, and heart
- Hair: medium to thick, straight hair
Tools & Products
- Tail comb
- Heat protectant
- Flat iron
- Fine-tooth comb
- Shine serum or light oil
10. Glossy Half-Up Straight Style

The glossy half-up straight style gives you the best of both worlds: a clean, lifted top and shiny lengths. The crown section is pulled back smoothly, while the bottom half flows straight and reflective. This style is ideal when you want your face framed but not hidden, and it keeps hair away from your eyes without sacrificing length. It works for day or night and can be dressed up or down. The shine at the top and through the ends makes the style feel polished rather than casual. Pro tip: smooth the top section with a brush as you pull it back so no bumps show in bright light.
How To Style
- Straighten all your hair with a flat iron after using heat protectant.
- Section off the top half from temples to crown.
- Brush this section back and secure with a small elastic or clip.
- Comb through the loose hair and finish with a shine mist.
Best For
- Face shapes: oval, heart, and long
- Hair: fine to medium, straight or smoothed hair
Tools & Products
- Heat protectant
- Flat iron
- Small hair elastics or clips
- Paddle brush
- Light shine spray
Conclusion
Glossy straight hair that shines like glass is mostly about prep, protection, and a light touch with product. Choose one of these styles that suits your face shape and daily routine, then build a small routine around it: gentle washing, heat protection, careful straightening, and tiny amounts of shine boosters. Over time, you’ll find the exact balance that keeps your hair smooth, reflective, and healthy rather than weighed down. Start with one look this week and refine from there.
Call to Action
Pick your favorite look from this list, gather your tools, and try it in front of a mirror tonight—then note what worked, what didn’t, and adjust your routine until your hair catches the light exactly the way you want.
FAQs
1. How do I get my straight hair to look shiny, not greasy?
Use very small amounts of product and focus it on mid-lengths and ends, not the roots. Start with a drop of serum or oil, rub it between your palms, and smooth lightly over the hair so it looks glossy but not wet.
2. Do I have to use a flat iron for glass-like shine?
A flat iron helps a lot because it seals the cuticle and smooths the surface. If you want to avoid too much heat, use a careful blow-dry with a nozzle and a brush that pulls the hair straight, then finish with a cool shot of air to lock in shine.
3. Can wavy or curly hair get this glossy straight look?
Yes, but it usually takes more prep time. Start with a smoothing wash, then blow-dry in sections using tension and a brush, and finish with a flat iron and heat protectant to guard against damage while you create that reflective finish.
4. How often should I straighten my hair to keep it healthy?
Aim to limit full straightening to a few times a week and always use heat protectant. On in-between days, refresh the style with a quick touch-up on the top layer only, or use a sleek ponytail or bun that doesn’t require re-ironing every strand.
5. What haircut works best for glass hair shine?
Blunt cuts and long, subtle layers usually reflect the most light because they create a smoother surface. Ask your stylist to avoid very choppy layers or thinning that can make the ends look wispy instead of dense and glossy.