6 Long Butterfly Layers Smooth Blowout Center Part Hairstyles
Long butterfly layers give you that soft, flowing movement without losing your length, and they look extra polished with a smooth blowout and a clean center part. These 7 hairstyles are all about glossy shine, face-framing pieces, and layers that float instead of frizz so your hair feels light but still full. You will get ideas you can wear to work, date night, brunch, or just a regular day when you want your hair to feel done but not overstyled. Most looks work best on straight or gently wavy hair, but you can prep curls by smoothing first with a blow-dry brush or a careful tension blowout. Have a heat protectant, round brush, sectioning clips, hair dryer with nozzle, and a light finishing serum ready, and you are set to try them. Take your time with the ends so the butterfly layers flick out softly and evenly.
Quick List
- Long Butterfly Layers (smooth blowout) with a Center Part
- Classic Long Butterfly Blowout Center Part Hairstyles
- Soft Face-Framing Butterfly Layers Center Part Hairstyles
- Voluminous Butterfly Layers Smooth Center Part Hairstyles
- Sleek Butterfly Blowout with Feathered Ends Hairstyles
- Curtain-Framed Butterfly Layers Center Part Hairstyles
- Glossy Long Butterfly Layers Minimalist Center Part Hairstyles
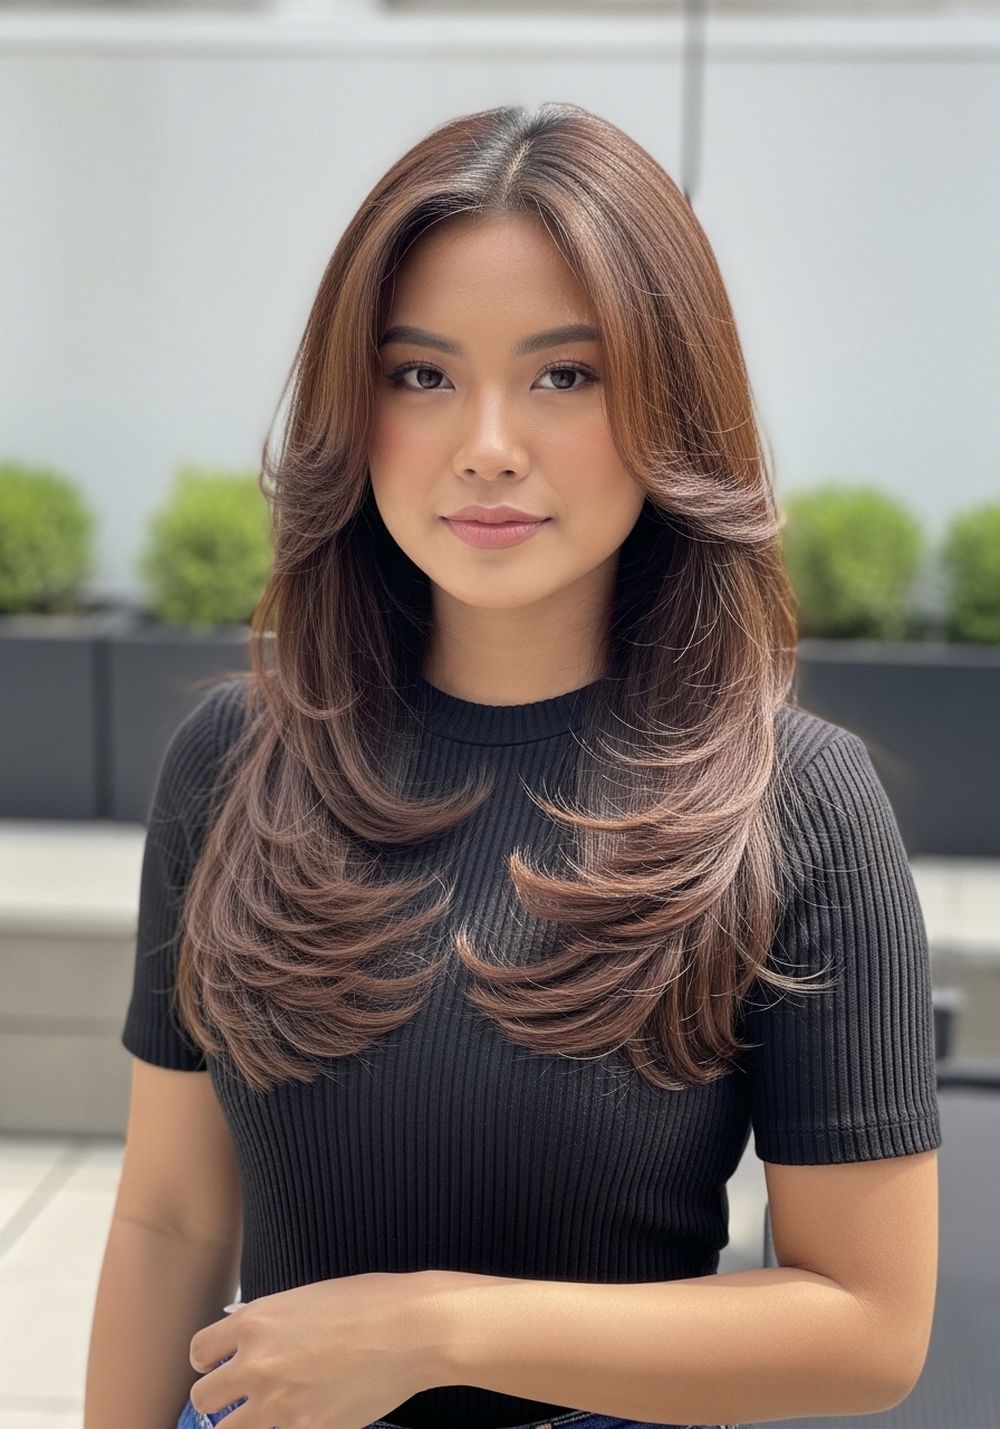
Long Butterfly Layers (smooth blowout) with a Center Part
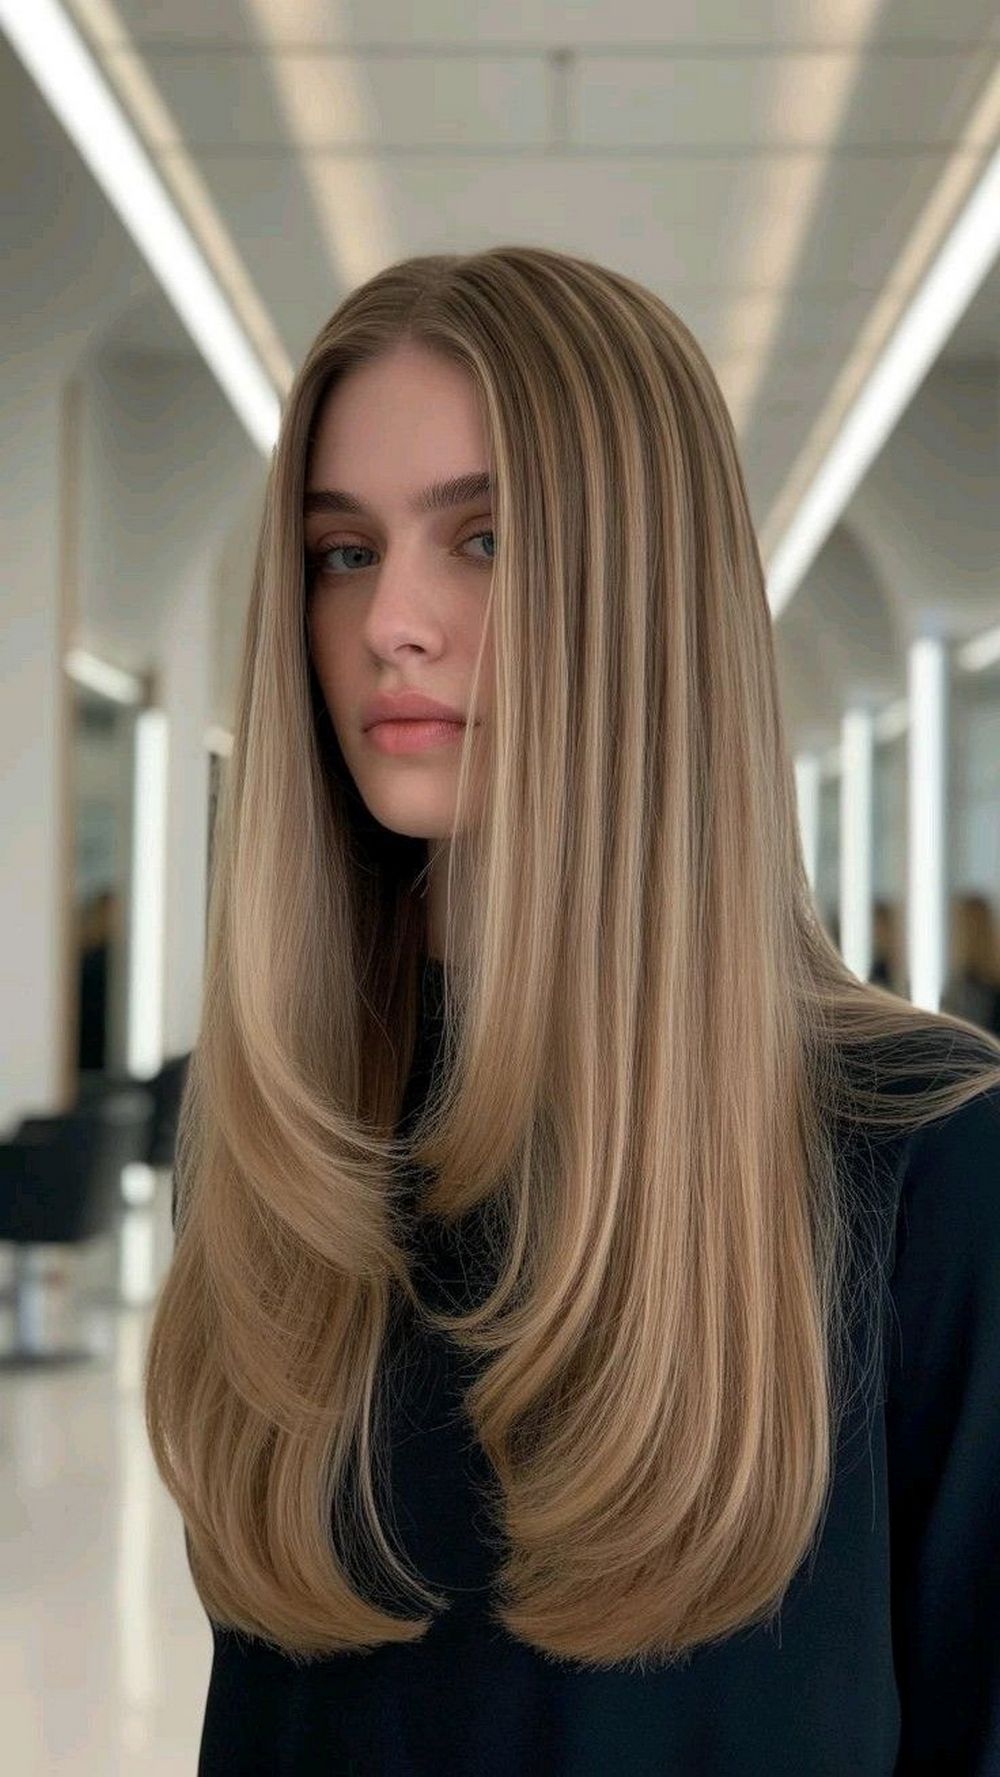
Sleek, long butterfly layers with a crisp center part—this style is the definition of clean, glossy, and high-end. The face-framing pieces create a soft “lift” around the cheeks, while the long layers keep the length full but lightweight. It’s perfect for anyone who wants movement without losing density, and it photographs beautifully in every light. Ask your stylist for long, blended butterfly layers and subtle curtain-style framing that starts around the cheekbone. Style with a round-brush blowout, smooth the ends under, and finish with shine serum and light hold spray for a silky, swingy finish all day.
Classic Long Butterfly Blowout Center Part Hairstyles
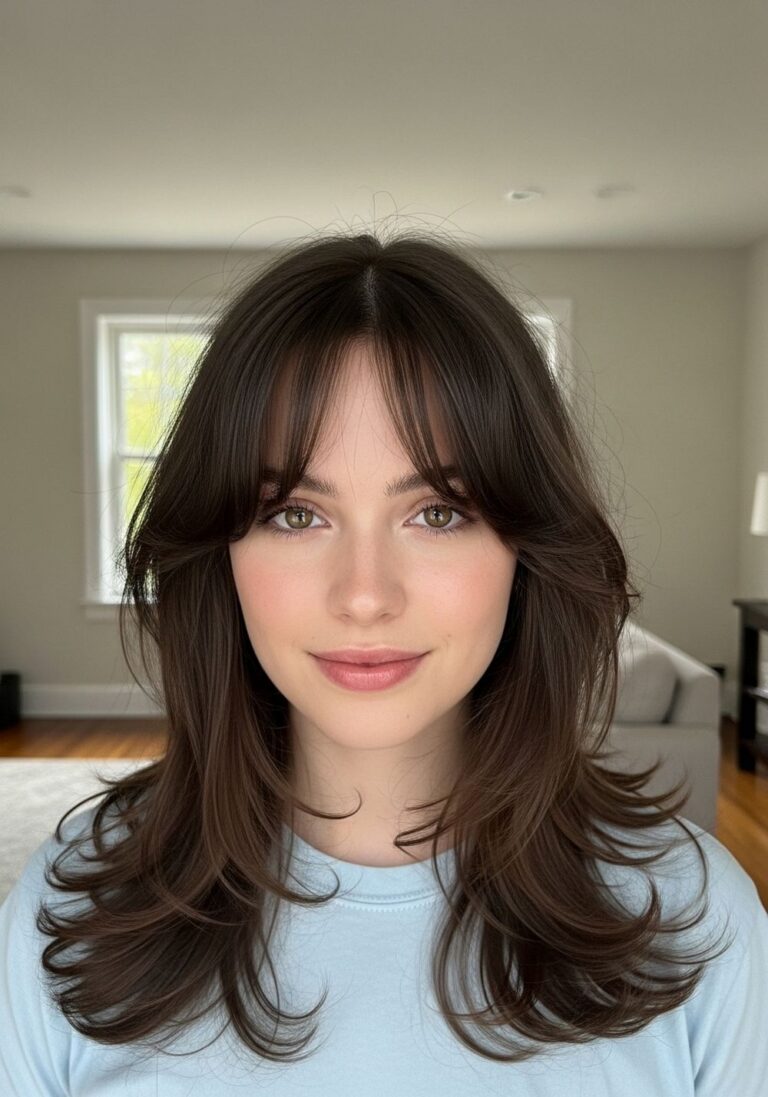
This look is the pure, classic version of long butterfly layers with a smooth blowout and a clean center part. The layers sit mostly around the cheekbones and below the collarbone, so you keep your length while adding movement through the mids and ends. It feels polished but still soft, with no harsh lines or heavy volume at the roots. Wear it for work, dinner, or any time you want your hair to look “done” without looking overstyled. It photographs beautifully because the layers catch the light as you move. Pro tip: angle your hairdryer so air flows down the hair shaft, not up, to keep the cuticle smooth and glossy.
How To Style
- Apply heat protectant to damp hair and create a precise center part.
- Rough-dry until 70% dry, keeping the airflow downward.
- Use a medium round brush to smooth each section, rolling the ends away from your face.
- Flip the front layers back for that butterfly flick, then let them fall.
- Finish with a pea-sized amount of serum on mids and ends only.
Best For
- Face shapes: oval, round, heart
- Hair types: straight to gently wavy, medium density
Tools & Products
- Heat protectant spray
- Tail comb (for a sharp center part)
- Medium round brush
- Hair dryer with concentrator nozzle
- Lightweight smoothing serum
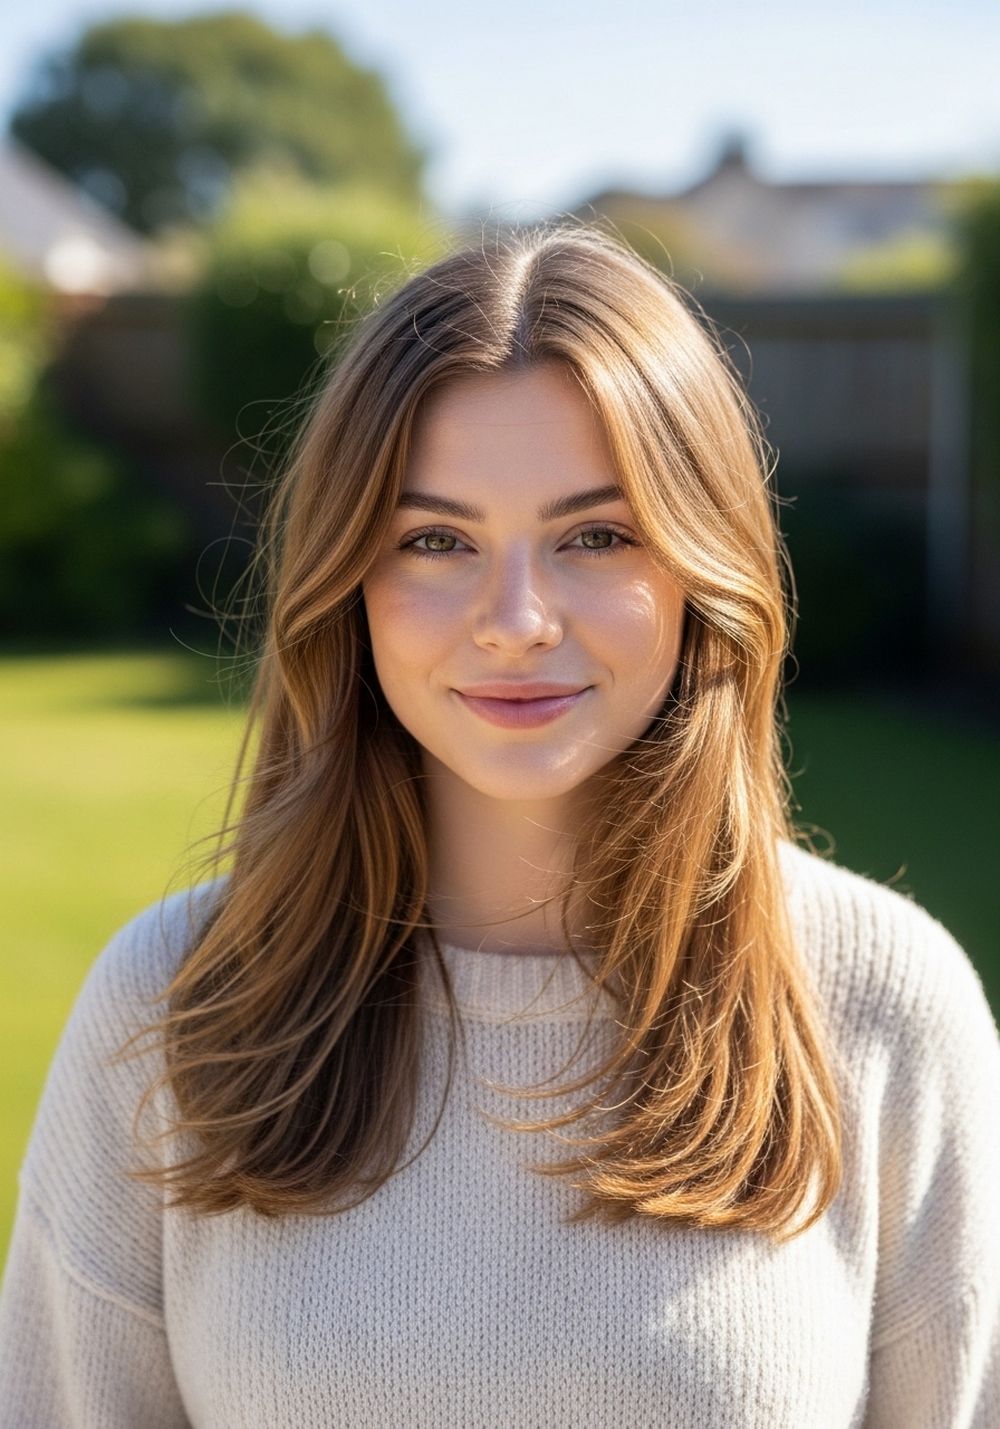
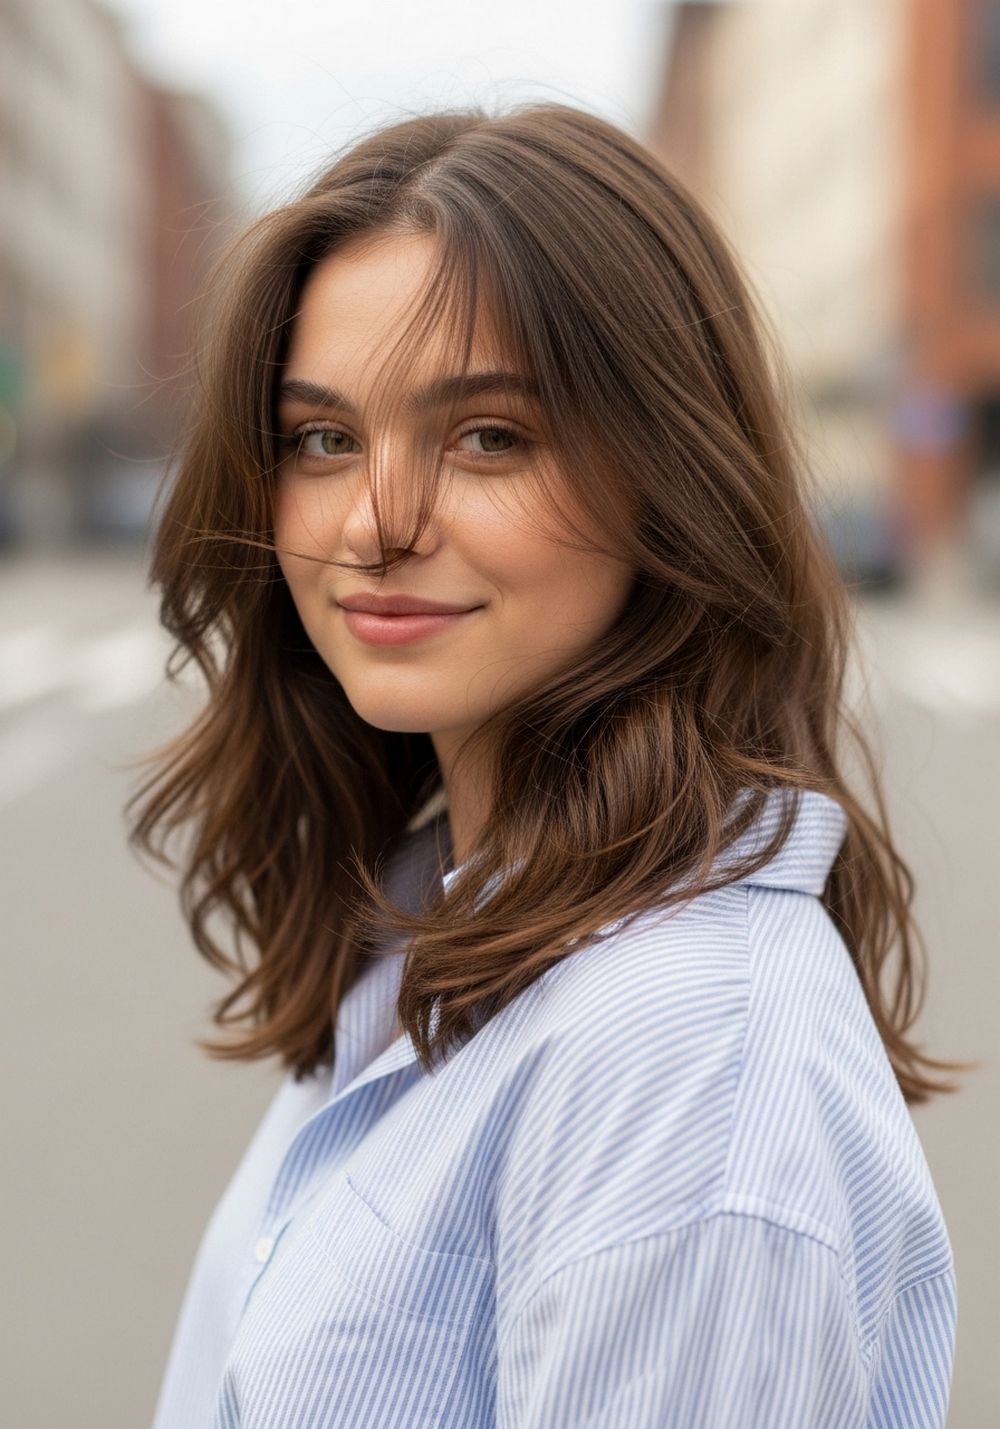
Soft Face-Framing Butterfly Layers Center Part Hairstyles
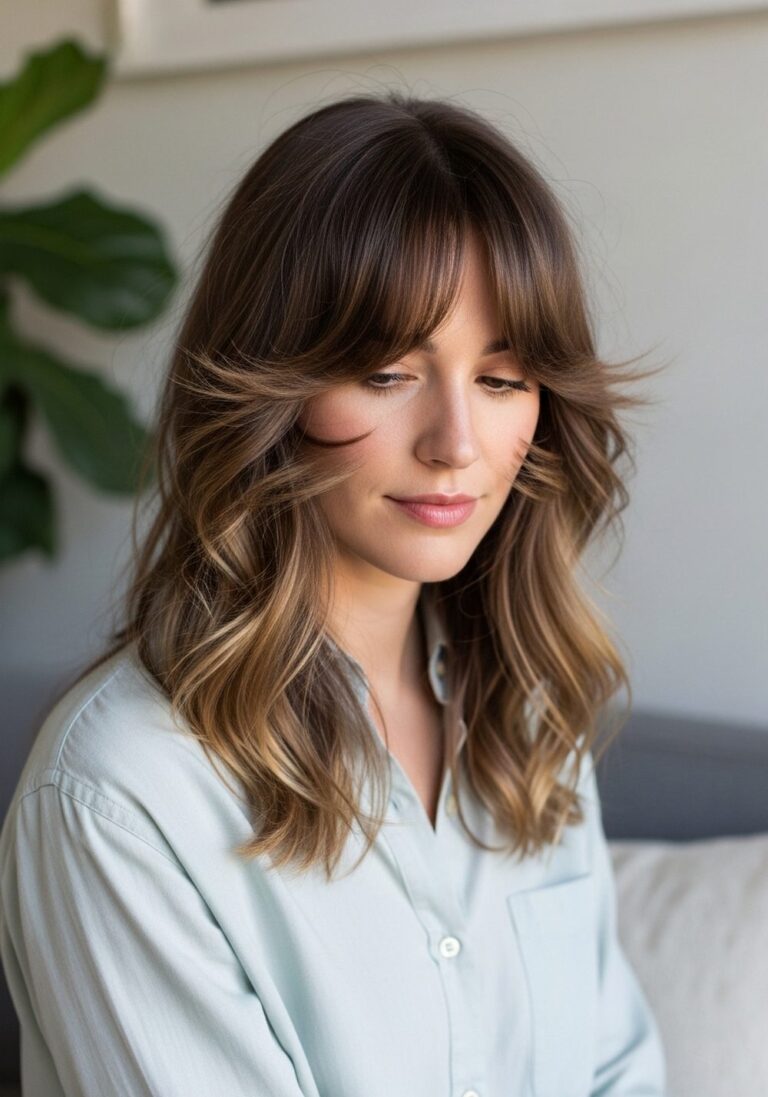
This version keeps the blowout smooth but focuses on those soft pieces around your face. The shortest layers skim the cheekbones and jaw, gently hugging your features without creating heavy bangs or a thick fringe. It’s perfect if you want a center part but still like a bit of softness in front to balance strong cheekbones or a slightly longer face. The overall shape stays long, with movement from below the chin downward. This style feels romantic but still wearable for every day. Pro tip: twist the very front pieces slightly away from the face as they cool so they naturally fall in a soft curve instead of turning under.
How To Style
- On damp hair, apply heat protectant and a light volumizing spray at the roots only.
- Create a center part and clip away the back sections.
- Blow-dry the back smooth with a round brush, keeping the ends slightly curved.
- For the front layers, roll the brush away from your face and hold for a few seconds before releasing.
- Let everything cool, then gently rake through with your fingers.
Best For
- Face shapes: long, oval, square
- Hair types: straight or soft wave, fine to medium
Tools & Products
- Heat protectant
- Light root volumizing spray
- Small to medium round brush
- Hair dryer with nozzle
- Light shine spray
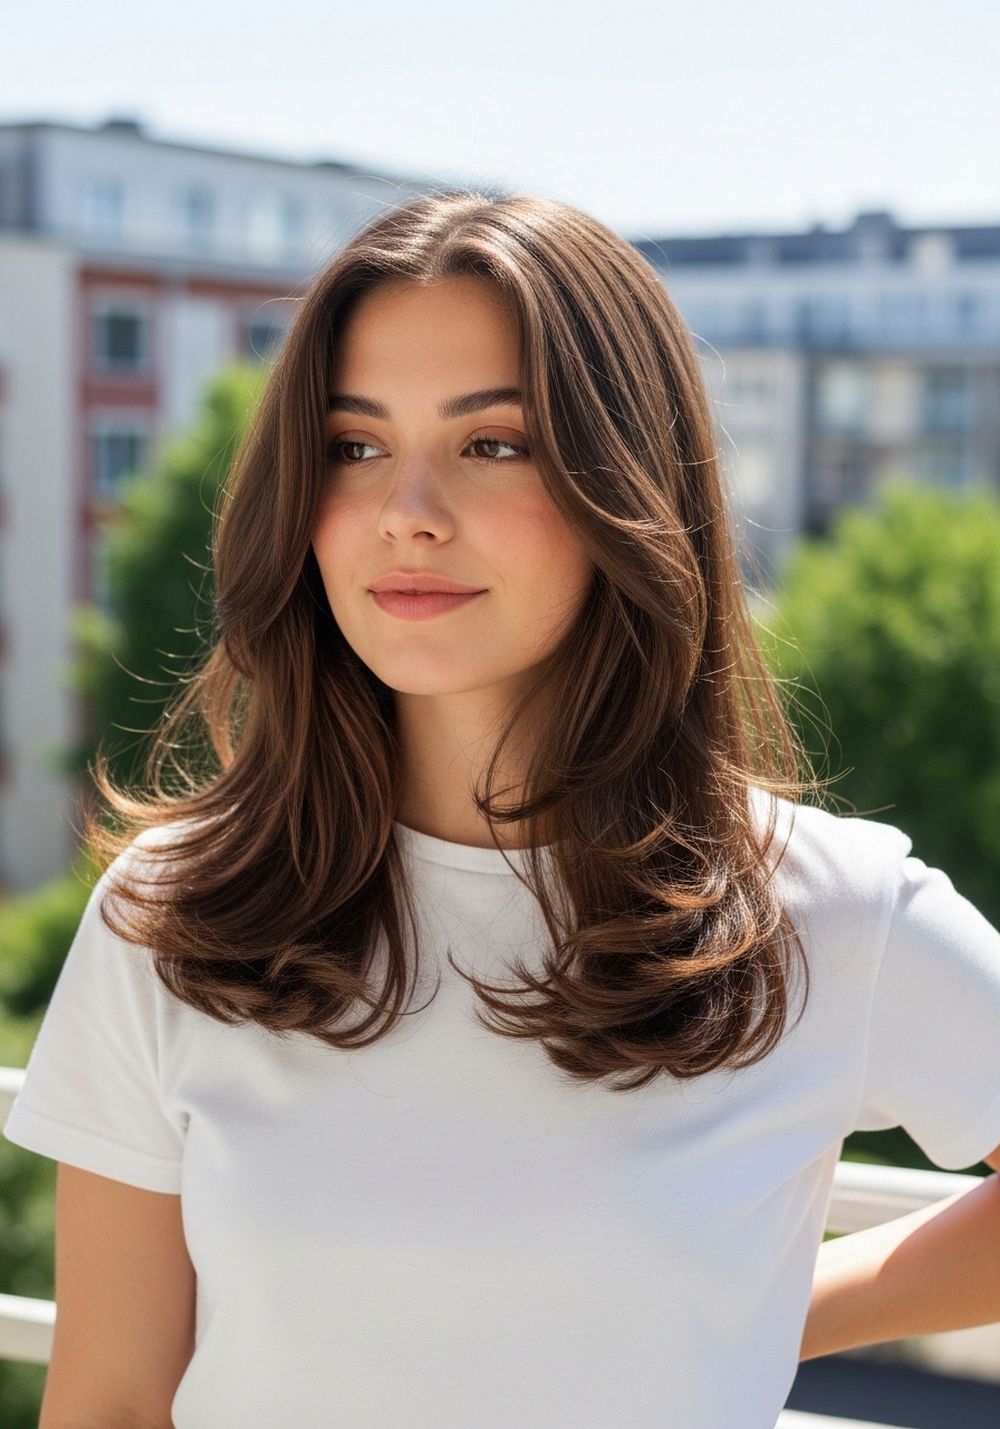
Voluminous Butterfly Layers Smooth Center Part Hairstyles
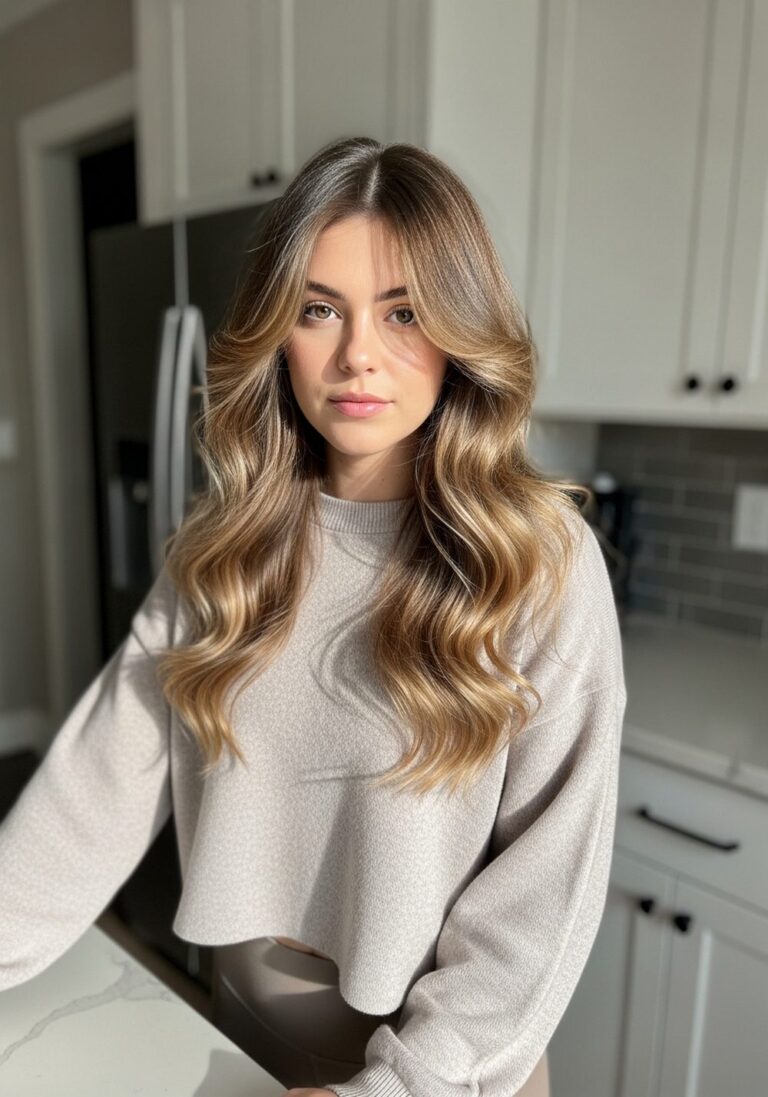
If you love the butterfly shape but want more lift, this voluminous version adds height at the crown while keeping the mids and ends smooth. The layers are cut to build volume around the cheeks and shoulders, creating a soft “C” shape that flatters fuller cheeks and rounder face shapes. You still get a sleek finish, but the hair looks thicker and more dimensional. This is a great choice for events, nights out, or any day you feel like having a little extra “main character” hair. Pro tip: focus your volumizing mousse at the crown and upper mids, not the ends, so the blowout feels full without looking puffy.
How To Style
- Apply heat protectant and a volumizing mousse through the roots and upper mids of damp hair.
- Flip your head upside down and rough-dry to build lift at the crown.
- Section your hair and blow-dry with a round brush, lifting sections up and away from the scalp.
- Use Velcro rollers or pin curls at the crown while the hair cools.
- Release, then smooth the top lightly with your fingers without flattening the volume.
Best For
- Face shapes: round, heart, oval
- Hair types: straight to wavy, fine or medium density
Tools & Products
- Heat protectant
- Volumizing mousse
- Round brush
- Velcro rollers or clips
- Light hold hairspray
Sleek Butterfly Blowout with Feathered Ends Hairstyles
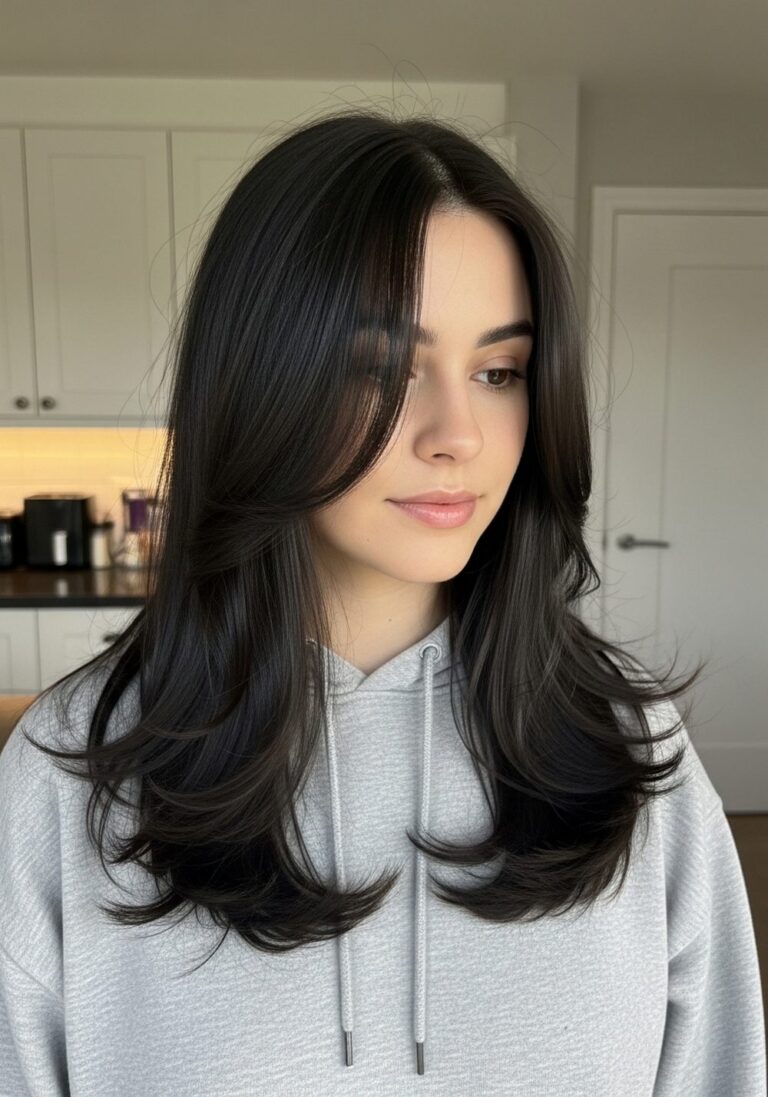
This style leans into a sleek, almost glassy finish through the mids, with feathered ends that flick out in a subtle butterfly shape. The center part keeps everything balanced, making it ideal if you like a very clean, modern vibe. The layers are more blended and less choppy, so the hair looks smooth when you run your hand through it but still has that soft flip at the bottom. It works beautifully for straight hair that tends to sit flat and for anyone who likes a minimal look with sharp lines. Pro tip: after blow-drying, lightly run a flat iron just over the ends, bending them away to sharpen the feathered effect.
How To Style
- Apply heat protectant and a small amount of smoothing cream to damp hair.
- Blow-dry in small sections with a paddle brush, keeping strands tight and straight.
- Once dry, use a flat iron on low to medium heat to smooth the mids.
- Curve the ends outward with the flat iron to create the feathered flip.
- Finish with a tiny amount of anti-frizz cream on the outer layer only.
Best For
- Face shapes: oval, heart, diamond
- Hair types: straight or relaxed wave, medium to thick
Tools & Products
- Heat protectant
- Smoothing cream
- Paddle brush
- Flat iron
- Anti-frizz finishing cream
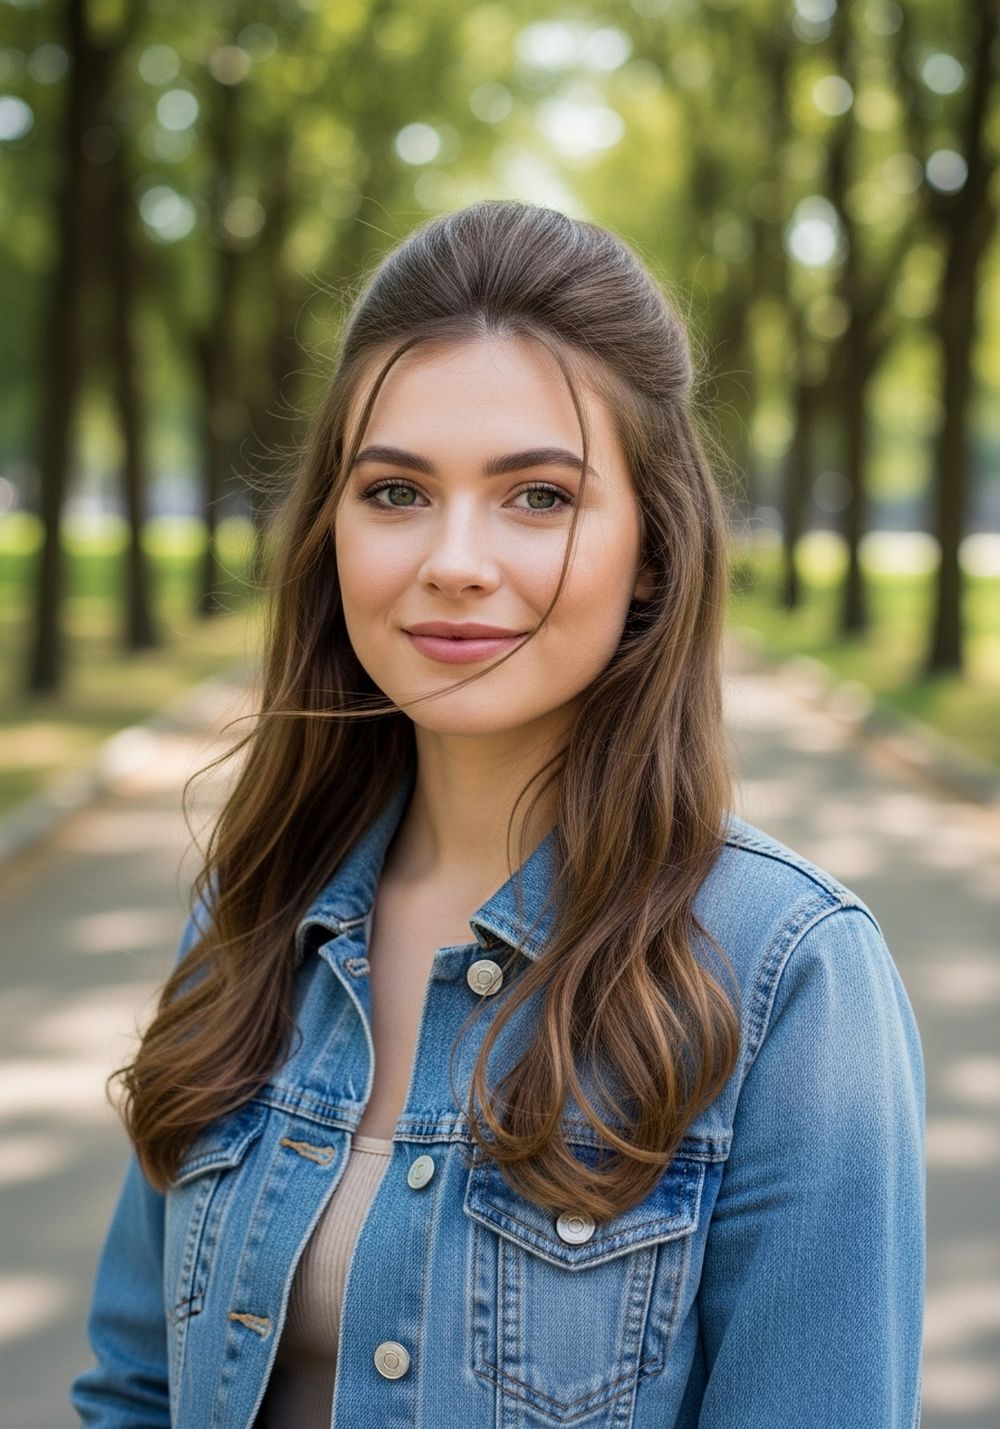
Curtain-Framed Butterfly Layers Center Part Hairstyles
This look blends the idea of curtain framing with long butterfly layers, giving you soft pieces that open away from your face while the length flows down your back. The front sections start a bit lower, usually around the lips or chin, so it feels looser and more casual than a traditional curtain fringe. It is an easy everyday option because even when the blowout drops slightly, the shape still looks intentional and soft. The center part keeps everything even, but the curtain effect softens a strong jaw or broad forehead. Pro tip: when drying the front, roll the brush forward first, then flip it backward to help the curtain pieces fall just right.
How To Style
- On towel-dried hair, apply heat protectant and a light smoothing spray.
- Create a center part and clip away the back.
- Blow-dry the back with a round brush, keeping ends softly curved.
- For the front “curtain” sections, over-direct them forward over your forehead, then flip them back as you release the brush.
- Scrunch the ends gently to keep the movement soft, not stiff.
Best For
- Face shapes: square, heart, round
- Hair types: straight to wavy, fine to medium
Tools & Products
- Heat protectant
- Light smoothing spray
- Medium round brush
- Hair dryer with nozzle
- Light hold flexible hairspray
Glossy Long Butterfly Layers Minimalist Center Part Hairstyles

This is the pared-back, minimalist version of long butterfly layers with a smooth blowout and center part. The shape is very clean, with subtle face-framing and long, softly graduated layers through the ends. The focus is on shine and a silky finish rather than big volume or drama. It’s ideal if you like your hair to look expensive and neat but not overly styled. Think everyday wearable, from the office to dinner, that still feels special when you catch it in the mirror. Pro tip: use the cool-shot button on your dryer over each section at the end to lock in shine and help the style last longer.
How To Style
- Apply heat protectant and a shine-enhancing blow-dry spray to damp hair.
- Create a sharp center part with a tail comb.
- Blow-dry with a large round brush, keeping tension but minimal bend at the ends.
- Smooth any flyaways with a tiny dot of serum between your palms.
- Comb through with a wide-tooth comb to keep the look sleek and fluid.
Best For
- Face shapes: oval, long, heart
- Hair types: straight or very soft wave, fine to thick
Tools & Products
- Heat protectant
- Shine-enhancing blow-dry spray
- Large round brush
- Hair dryer with nozzle and cool-shot button
- Lightweight serum
Conclusion
Long butterfly layers with a smooth blowout and center part give you movement, shine, and length all in one style. With a few basic tools and a bit of practice on your round-brush technique, you can switch between classic, curtain-framed, sleek, or extra voluminous versions without changing your haircut. Start with one look that fits your day, then slowly add tricks like rollers at the crown or a quick flat-iron flip on the ends. Over time, the routine will feel quick and easy.
CTA
Pick one of these butterfly blowout hairstyles, set up your tools, and try it on your next wash day—then note what worked so you can tweak and perfect it the following week.
FAQs
1. Do I need very thick hair for long butterfly layers with a blowout?
No, you do not need very thick hair. Butterfly layers can actually make fine or medium hair look fuller because of the movement at the ends. Just keep the layering softer and avoid taking too much weight out if your hair is on the finer side.
2. Will a center part with butterfly layers suit a round face?
Yes, it can. Choose a version with face-framing pieces that start below the cheekbones and add a bit of height at the crown to balance the face. The smooth blowout and vertical lines of long layers help lengthen the overall look.
3. How often should I trim butterfly layers to keep the shape?
Most people do well with a trim every 8–12 weeks. This keeps the ends healthy and the layers defined without constantly shortening the overall length. If your hair splits easily or you use hot tools often, lean closer to the 8-week mark.
4. Can I do a butterfly blowout if my hair is naturally curly?
You can, but you will need to smooth the hair first. Use a blow-dry brush or a tension blowout with a round brush and always apply heat protectant. If you prefer to keep some wave, just smooth the roots and mid-lengths and leave a soft bend through the ends.
5. What if my center part never looks even?
Use a tail comb on damp hair and start the part from the highest point of your nose, moving straight back. Check both sides in the mirror and adjust while the hair is still wet. Once it looks even, blow-dry in that placement so the part “sets” and becomes easier to find next time.