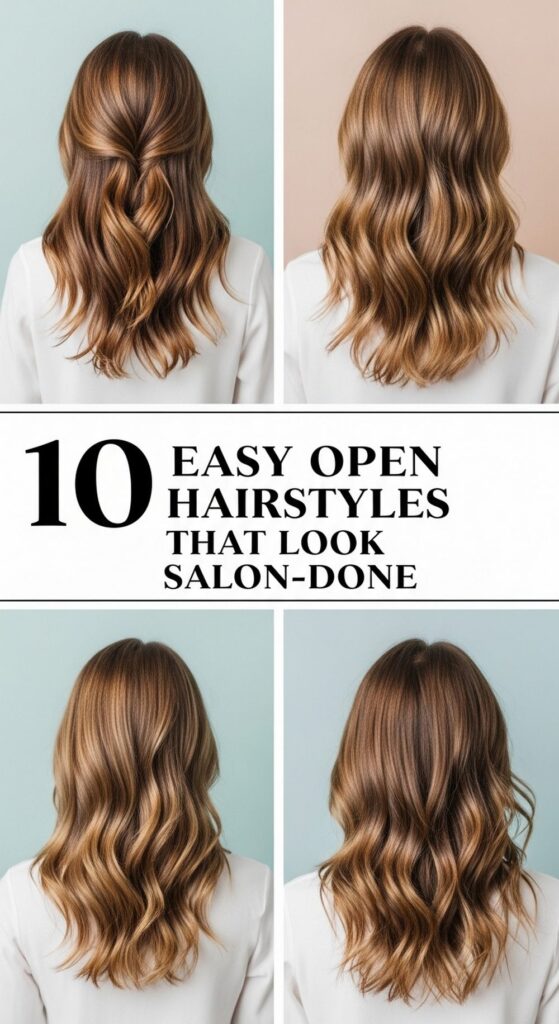
10 Easy Open Hairstyles That Look Salon-Done
Open hairstyles can look polished without taking forever. This list covers 10 easy, wear-it-down looks you can do at home and still get that clean, salon-finished vibe. You’ll see options for straight, wavy, and lightly curly hair, plus small tweaks that help finer hair look fuller and thicker hair look smoother. Most styles work for oval, round, and heart face shapes, with a few that flatter longer faces too. Start with clean, dry hair. Add a heat protectant if you’ll use hot tools. A light mousse or texturizing spray helps hold shape without stiffness. Keep a comb, a brush, and a couple of clips nearby so your part stays neat. The goal is simple: smooth roots, soft movement through the lengths, and a finish that looks intentional.
Quick List
- Sleek Middle-Part Straight
- Soft Blowout Waves
- Deep Side-Part Swoop
- Half-Up Crown Lift (Still Mostly Open)
- Tucked-Behind-Ears Smooth Lengths
- Brushed-Out Soft Curls
- Face-Framing Flip Layers
- Polished “Glass Hair” Ends
- Natural Waves with Defined Pieces
- Clipped Side Sweep with Volume
1) Sleek Middle-Part Straight

This is the quickest “I went to the salon” look because it’s clean and balanced. A sharp middle part makes your hair look healthier and more intentional, even if you keep the length simple. It’s perfect for days you want a neat finish for work, dinner, or photos. If your hair gets frizzy, focus on smoothing the top and letting the ends stay soft. If your hair is fine, keep product light and add a tiny lift at the crown so it doesn’t fall flat. Pro tip: run a fine-tooth comb through the top after heat styling, then mist lightly from a distance for a smooth set.
How To Style:
- Create a precise middle part.
- Blow-dry downward with a brush for smooth roots.
- Flat iron in thin sections, curving slightly at the ends.
- Add a drop of lightweight serum on the last 3–4 inches.
Best For: Oval, heart, long face shapes; straight to slightly wavy hair
Tools & Products: Heat protectant, paddle brush, flat iron, light serum, light-hold hairspray
2) Soft Blowout Waves

Soft blowout waves give you bounce and movement without looking overdone. It’s that “freshly styled” finish that still feels natural, especially on medium to long hair. The trick is keeping the wave loose and brushing it out so it looks airy. This style is great for round faces because the vertical volume and soft bend can elongate your look. For thicker hair, work in smaller sections to keep it controlled. For fine hair, use mousse at the roots and keep your barrel size medium so the wave holds. Pro tip: let curls cool fully before brushing; that’s what makes it last.
How To Style:
- Apply mousse at roots and heat protectant through lengths.
- Blow-dry with a round brush, rolling ends under slightly.
- Curl mid-lengths to ends with a medium barrel, alternating direction.
- Cool, then brush out and finish with light spray.
Best For: Round, oval, heart; straight to wavy hair
Tools & Products: Heat protectant, mousse, round brush, curling iron, light-hold hairspray
3) Deep Side-Part Swoop
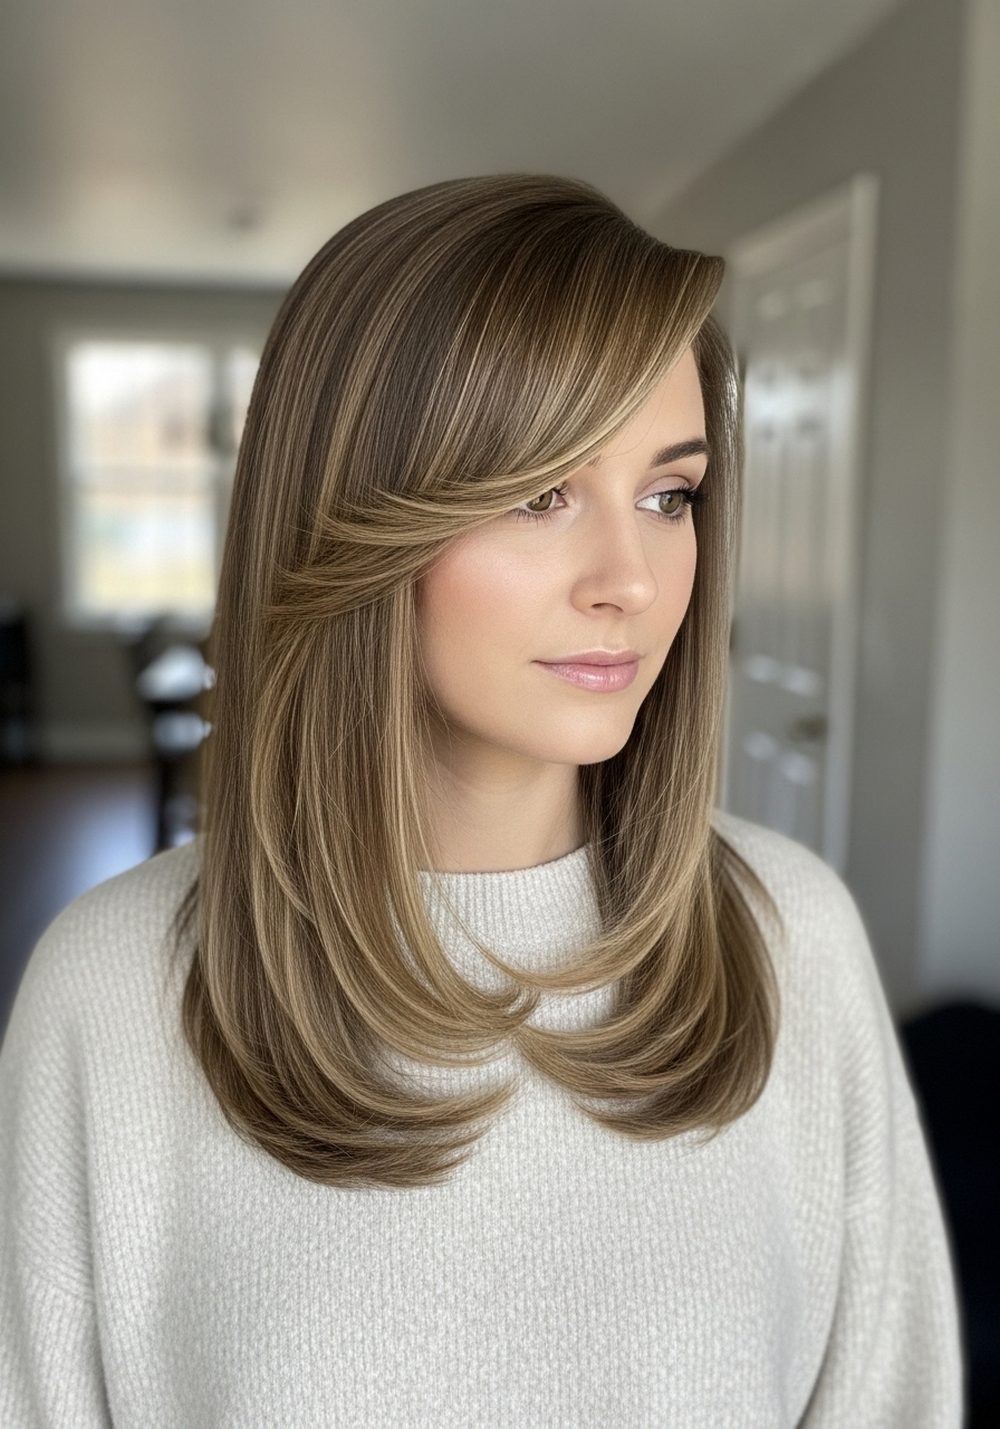
A deep side part instantly adds drama and volume, so it reads “styled” even when you keep everything open. It’s a great fix for second-day hair because the part change lifts the roots and hides flatness. The swoop also flatters round and heart faces by creating a soft diagonal line across the forehead. Keep the lengths smooth or slightly waved—both look polished. If you have cowlicks, set the part while blow-drying so it stays put. Pro tip: use a clip at the heavy side near the roots for 5 minutes while you do makeup, then remove it for easy lift.
How To Style:
- Make a deep side part aligned with your brow arch.
- Blow-dry roots in the opposite direction for lift, then lay it back.
- Smooth lengths with a brush or quick iron pass.
- Set the swoop with light spray.
Best For: Round, heart, oval; straight to wavy hair
Tools & Products: Blow dryer, vent brush, rat-tail comb, flat iron (optional), light-hold hairspray
4) Half-Up Crown Lift (Still Mostly Open)

This is the easiest way to look put-together while keeping your hair down and free. You’re only lifting the crown, which makes your hair look fuller and your face look more open, but the overall style still reads as an open hairstyle. It’s perfect for everyday errands, office days, or casual events when you want a polished top and soft lengths. For fine hair, tease gently at the crown before pinning so it doesn’t slide. For thick hair, keep the section smaller so it doesn’t feel heavy. Pro tip: twist the crown section once before pinning to hide the clip and add shape.
How To Style:
- Section the top third from temple to temple.
- Tease lightly at the crown (optional), then smooth the surface.
- Twist once and secure with pins or a small claw clip.
- Curl the ends lightly for a finished look.
Best For: Oval, round, long; straight, wavy, loose curls
Tools & Products: Texturizing spray, teasing comb (optional), bobby pins or small claw clip, curling iron (optional)
5) Tucked-Behind-Ears Smooth Lengths

This is minimal but looks expensive because it’s neat and intentional. Tucking both sides behind your ears shows your face and makes your hair look glossy and controlled. It’s great for warm days, meetings, and times you want a clean profile in photos. If your hair slips out, you can anchor each side with one pin hidden behind the ear. Works best when the roots are smooth and the ends have a slight bend so it doesn’t look flat. Pro tip: warm a tiny amount of smoothing cream between your palms and skim over the outer layer—don’t rake it through.
How To Style:
- Blow-dry roots smooth with a brush.
- Add a slight bend at ends with a straightener.
- Tuck both sides behind ears and secure with hidden pins if needed.
- Mist lightly for hold.
Best For: Oval, heart, long; straight to wavy hair
Tools & Products: Smoothing cream, paddle brush, flat iron, bobby pins, light-hold hairspray
6) Brushed-Out Soft Curls

Brushed-out curls give you the “done” look without tight ringlets. You get volume, softness, and a flattering frame that works for many face shapes. This is especially good for medium to long hair that needs movement. If your hair is thick, curl in smaller sections so it doesn’t fall heavy. If your hair is fine, use a smaller barrel or tighter curl first, then brush out to get that soft finish that lasts. Pro tip: curl away from the face on the front pieces only—this opens your features and looks more salon-styled.
How To Style:
- Curl hair in sections, leaving 1 inch of ends out for a modern finish.
- Cool completely.
- Brush through with a wide brush until soft and blended.
- Add a touch of spray at the roots and ends.
Best For: Round, oval, heart; straight, wavy, loose curls
Tools & Products: Heat protectant, curling iron, sectioning clips, wide brush, flexible hairspray
7) Face-Framing Flip Layers
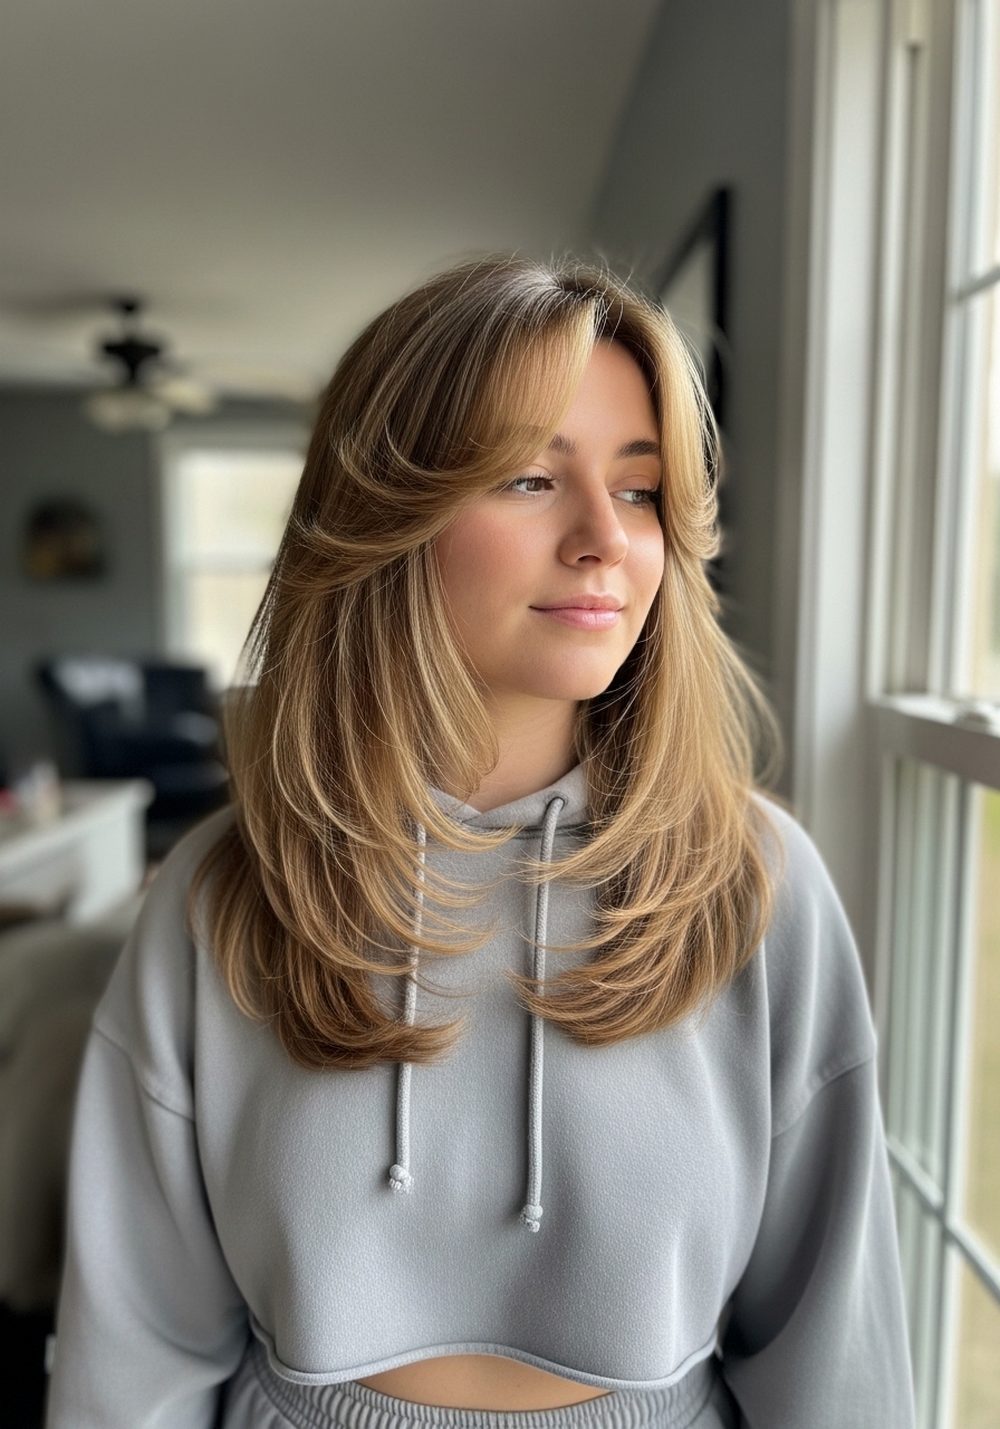
If you have layers, this one makes them look fresh instantly. The face-framing flip adds bounce around the cheeks and jaw, which can soften a round face or balance a longer face. It’s a great “five-minute refresh” when your hair is mostly dry already. You’re not curling the whole head—just styling the front and letting the back stay natural or lightly smoothed. For wavy hair, a quick brush and a front flip is enough. For straight hair, add a little heat for a cleaner curve. Pro tip: set the flipped front pieces with a cool shot from the dryer so they hold.
How To Style:
- Part hair as you like (middle or soft side).
- Wrap front sections around a round brush and blow-dry upward and back.
- Smooth the rest quickly with a brush or iron.
- Finish with a light mist.
Best For: Long, oval, heart; straight to wavy hair
Tools & Products: Round brush, blow dryer, heat protectant, light hairspray, smoothing serum (optional)
8) Polished “Glass Hair” Ends

This look is all about the ends. Even if your hair has natural texture, polishing the last few inches makes the whole style look salon-finished. It’s ideal when you don’t want full heat styling but still want that sleek, healthy vibe. You’ll keep the top simple and focus on making the ends uniform—either softly turned in or slightly flipped out. For thick hair, work in two layers so the bottom is as smooth as the top. For fine hair, keep product minimal so it stays airy. Pro tip: clamp the iron gently at the ends and move slower than you think—control comes from patience, not pressure.
How To Style:
- Blow-dry hair 90% dry and brush through.
- Flat iron only from mid-length to ends.
- Turn ends slightly in (or out) consistently.
- Add a tiny drop of serum to ends only.
Best For: Oval, heart, long; straight to wavy hair
Tools & Products: Heat protectant, flat iron, paddle brush, light serum, shine spray (optional)
9) Natural Waves with Defined Pieces
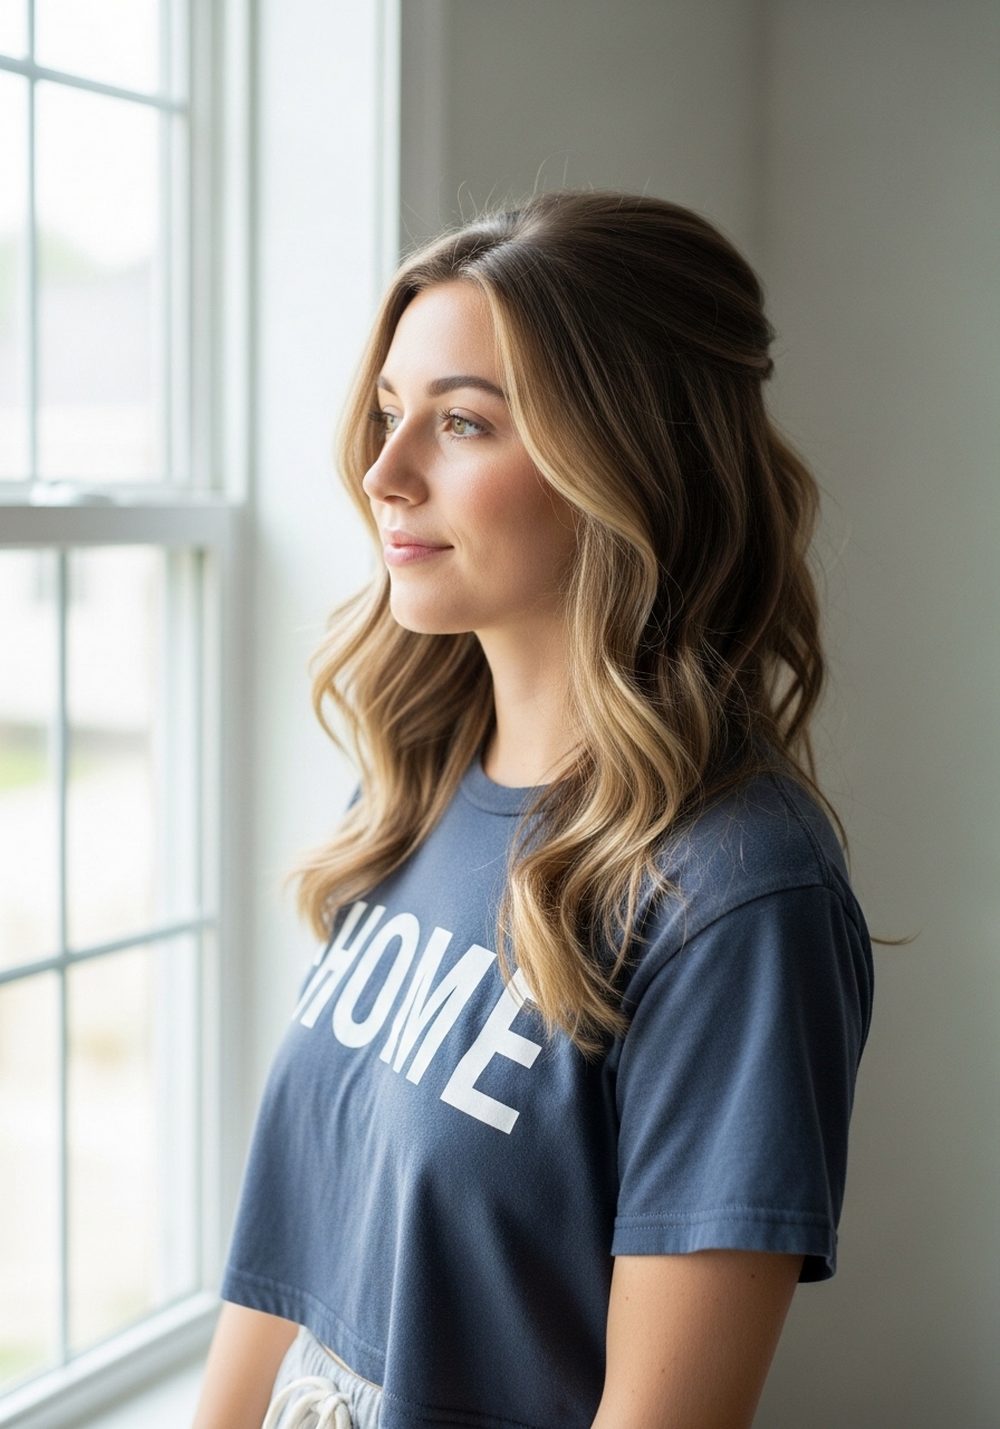
This one keeps your natural wave pattern but makes it look intentional. The key is defining a few sections around the face and the top layer, so it doesn’t look messy. It’s perfect for everyday wear, travel days, and casual plans where you want a polished-but-not-trying-too-hard finish. For straighter hair, you can fake waves by twisting damp sections and drying them. For curlier hair, focus on smoothing the top and defining the front pieces. Pro tip: scrunch product in, then stop touching it—less handling means less frizz and better shape.
How To Style:
- Work a light curl cream or mousse through damp hair.
- Scrunch and diffuse, or air-dry.
- Define 2–4 face pieces with a small iron if needed.
- Finish with a light mist for hold.
Best For: Round, oval, heart; wavy to curly hair (works on straight with twists)
Tools & Products: Mousse or curl cream, diffuser (optional), wide-tooth comb, small curling iron (optional), flexible hairspray
10) Clipped Side Sweep with Volume

A single side clip can make open hair look styled in seconds. You’re basically creating a soft sweep that lifts one side and frames the face. It’s great for fine hair because the clip helps hold volume where you want it. It’s also a nice option when you want hair off your face but don’t want a full half-up style. Keep the clip placement slightly above the temple for the most flattering angle. Pro tip: backcomb a small section under where the clip will sit—this gives the clip grip and keeps the sweep full all day.
How To Style:
- Create a side part and sweep the front section back.
- Tease lightly under the sweep for grip.
- Secure with a decorative clip or pins.
- Smooth the lengths and add a soft bend at ends.
Best For: Oval, round, heart; straight to wavy hair
Tools & Products: Rat-tail comb, texturizing spray, bobby pins or hair clip, flat iron (optional), light hairspray
Conclusion
If you want open hair that looks salon-done, focus on two things: a clean part and a polished finish at the top layer or ends. You don’t need a full routine every time. Pick one “hero step,” like smoothing the roots, adding a soft bend, or defining just the front pieces. Keep product light, let heat styles cool before brushing, and set with a soft mist. Try two styles this week and see which one holds best for your hair.
CTA
Want more ideas tailored to your hair type and face shape? Tell me your hair length and texture, and I’ll pick the best 10 styles for you.
FAQs
1) How do I make open hair look more “finished” fast?
Clean up your part and smooth the top layer first. Then add one detail—like bent ends, a face-framing flip, or brushed-out curls—so it looks intentional.
2) What’s the easiest open hairstyle for second-day hair?
A deep side-part swoop is great because it adds lift and hides flat roots. A light dry texture spray helps it stay in place.
3) How can I get volume without teasing?
Blow-dry the roots in the opposite direction of your part, then flip them back. You can also clip the roots for a few minutes while you get ready.
4) My hair gets frizzy—what helps most?
Use heat protectant, then smooth the top with a tiny amount of lightweight serum or smoothing cream. Avoid touching the hair too much after it’s styled.
5) How do I make curls last in open hair?
Curl smaller sections, let them cool completely, then brush out. Finish with a flexible hold spray, focusing lightly on the mid-lengths and ends.